

Rhythms Quilt Along Week 1: Cutting your fabric.
The cutting portion of the Rhythms Quilt is the most time-consuming step of this pattern. Almost every cut is unique, and it also utilizes templates provided to create the curved shapes seen in this design. The “Cutting Instructions” may appear intimidating, but the challenge is not in the techniques — it is in organization. In my first version of Rhythms, I (foolishly) did not utilize the labels, and paid for it with a lot of seam-ripping and wasted fabric from incorrect cuts.

Let’s start with materials:
Fabric
Rotary cutter or scissors
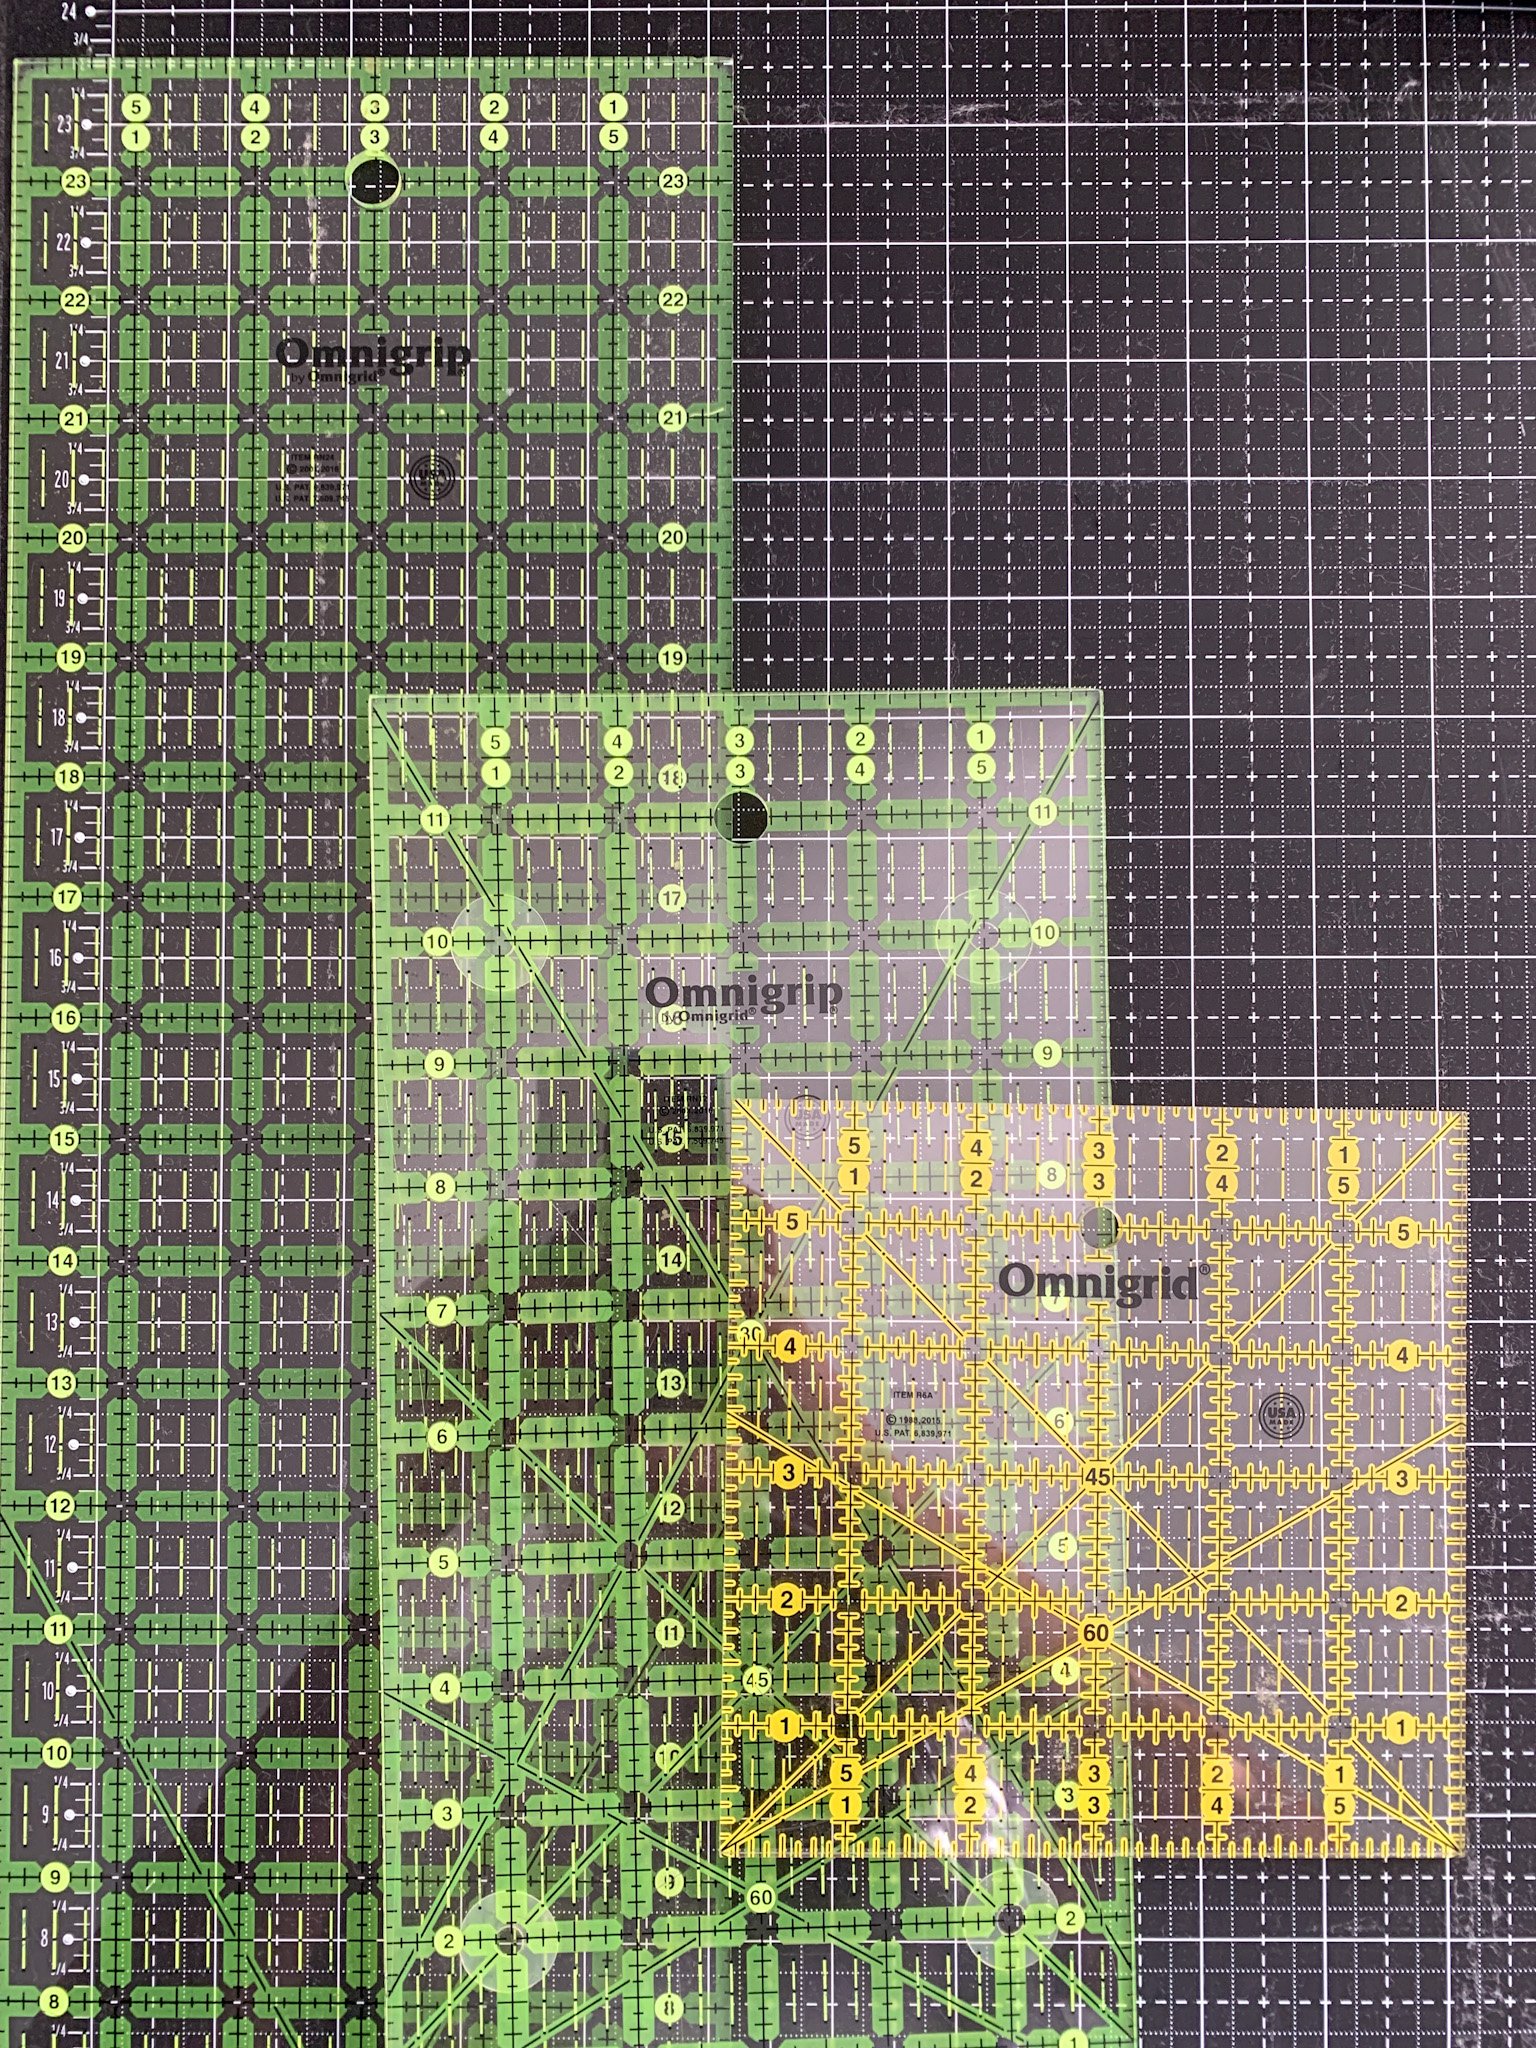
Multiple ruler sizes — I recommend a 6” x 24” and 6” x 12.” A smaller 6” x 6” is also helpful for guiding templates, but not required.
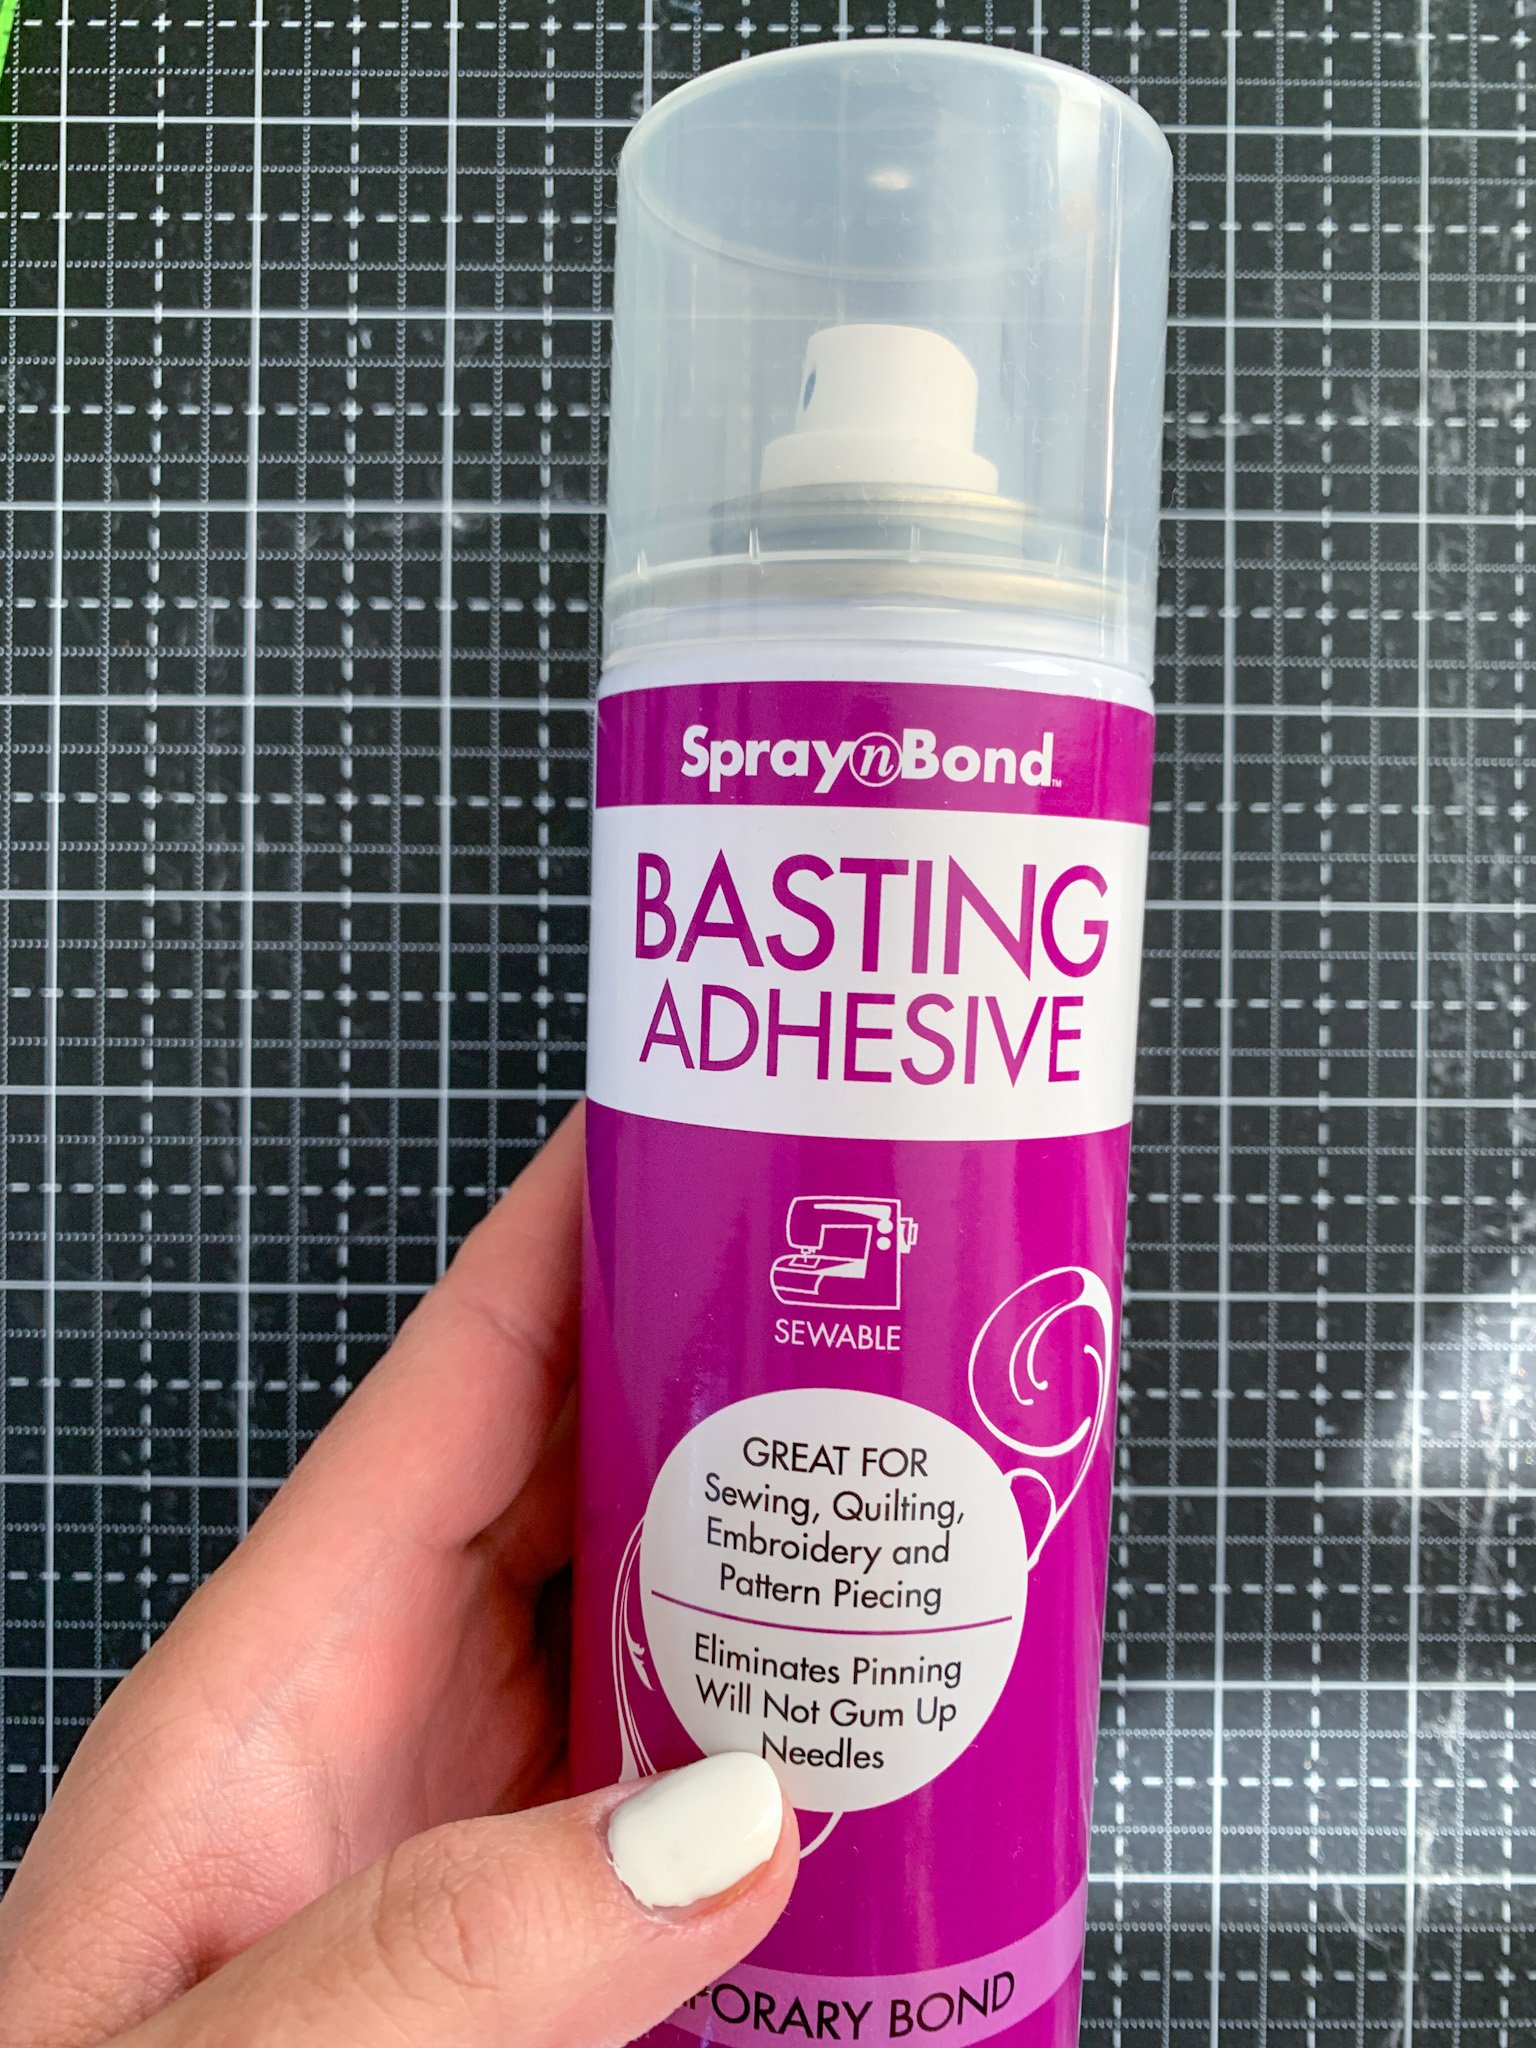
Adhesive spray — optional for stabilizing templates)
Wonder clips — These are my newest notion obsession!
Printed labels and templates — pgs 12 - 16 provide templates and labels for each size
NOTE- printers vary between brands in their ability to print along the margins of a page. If you are having trouble getting the templates to print correctly on your individual printer, it may be necessary to have them printed at an office supply store.
To avoid losing your place or skipping a piece while cutting, I recommend printing the pattern to check off cuts as you go. The “Cutting Instructions” are written to minimize waste—for example, The Throw size begins with Fabric A : (3) 2 1/2“ x WOF strips. From these cuts you will get (2) AA, AI, AL, AM, AN, and AJ. The fabric requirements provide wiggle room for cutting errors, so don’t panic if you make a mistake.
This quilt kind of comes together like a puzzle. There are many unique pieces, but most fit in only one place. It may feel overwhelming to keep track of the cuts, so utilize the labels and wonder clips to keep you sane! Once “Block Assembly” begins, it becomes easier to visualize how the quilt comes together. The shape of the pieces are consistent throughout every size — the Throw does not require more cutting than the Baby, so the time required in the cutting and piecing process is similar in every size.
Finally, let’s discuss templates: You may notice both template sections are quarter circles instead of one curve and one outer arch. This is simply designer preference. I find cutting around the outside of a template easier than along the inside of an arch. I would love feedback on how you feel about this method in the comments. There are 2 ways to secure the template to the folded fabric while cutting: pins or adhesive spray. Pins are more traditional, but they are challenging to push smoothly through printer paper. Spray adhesive is my personal preference, because I like to steady the rotary cutter with a small ruler while cutting around the template. As long as your cuts are fairly accurate, the fabric can be slightly stretched or contracted to create the correct shape. Templates 1-4 will be utilized in the following weeks as block assembly progresses.

This is my fabric pull! I am making a throw size for my son to use during nap times. Disclaimer: I am still not convinced on the last fabric, and am reserving the right to switch it up as it comes together.
As always, I am accessible through email (wellspringdesignsco@gmail.com) or Instagram, so feel free to reach out with any questions or comments. I am excited to start seeing your Rhythms Quilts come together! Remember to post a photo this week of your fabric pull or cutting and use the hashtag #RhythmsQAL to be entered to win the grand prize at the end of the QAL. And be sure to use the discount code and shop this week’s sponsor, Pasadena Quilt Studio!