

Rhythms Quilt Along Week 2: Block 1

Rhythms Quilt pattern Block 1
Now for everyone’s favorite part! All of your hard work cutting finally pays off and the Rhythms Quilt masterpiece begins to take shape. It’s time to piece your quilt blocks!
We’re taking this week to do Block 1, and I recommend you give yourself plenty of time to do it correctly. This block can cause a lot of headache if not approached with focus and attention to detail. The steps are not individually hard, but each builds on the previous step so if one is missed, it can cause problems down the road.
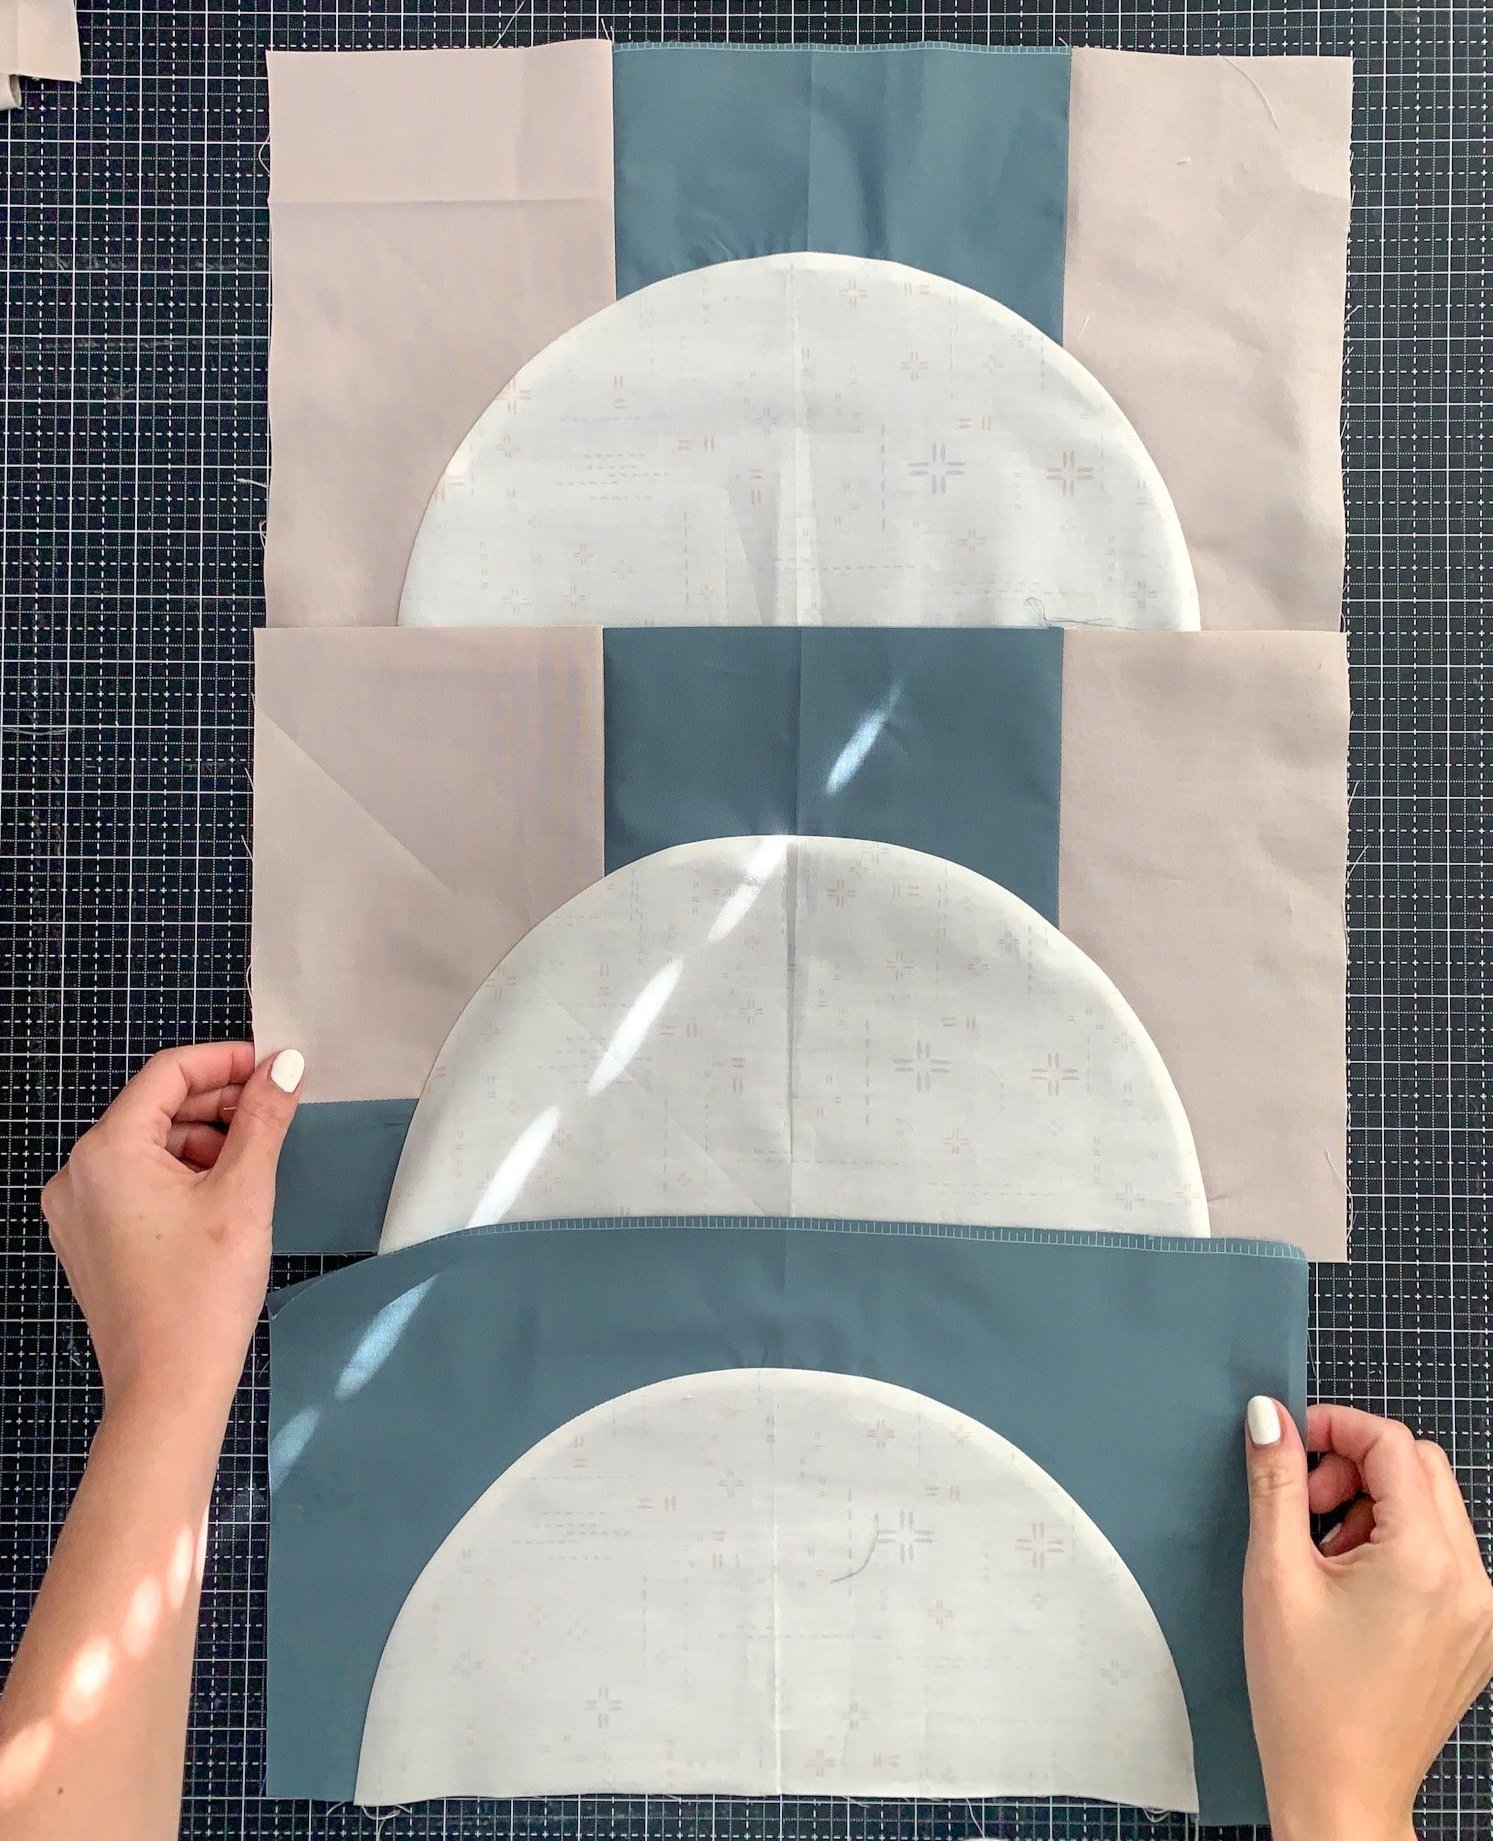
Step 1: Piece sub-blocks following the instructions and diagrams provided. This is where you will be thankful for the labels! An organized approach makes this step so much easier.
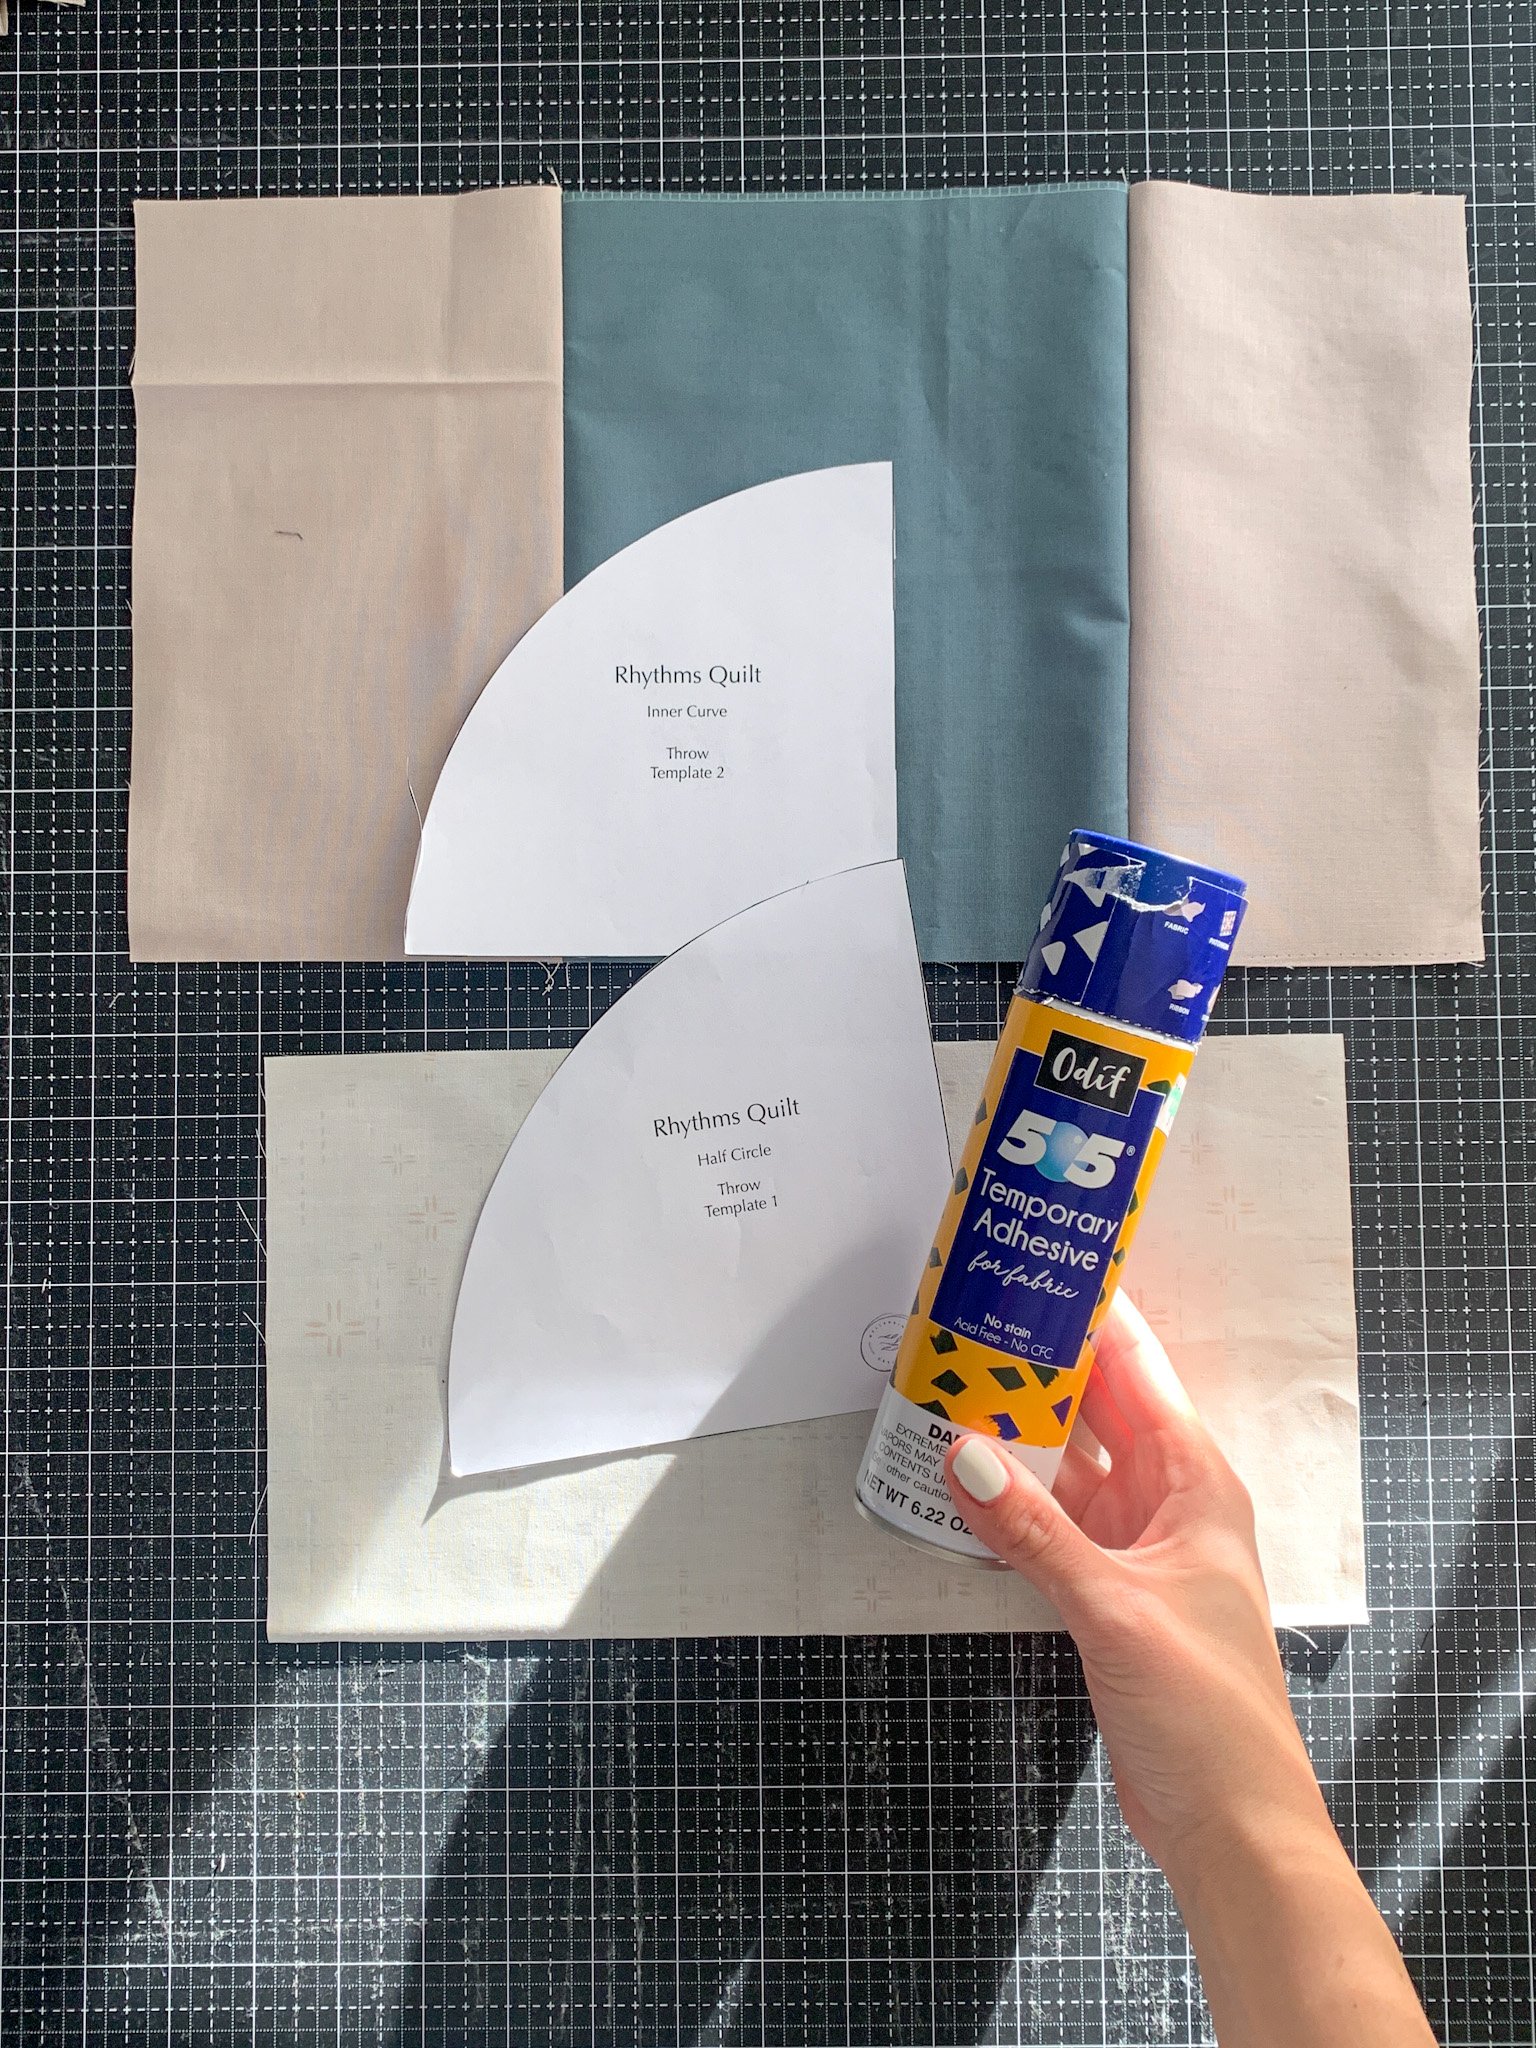
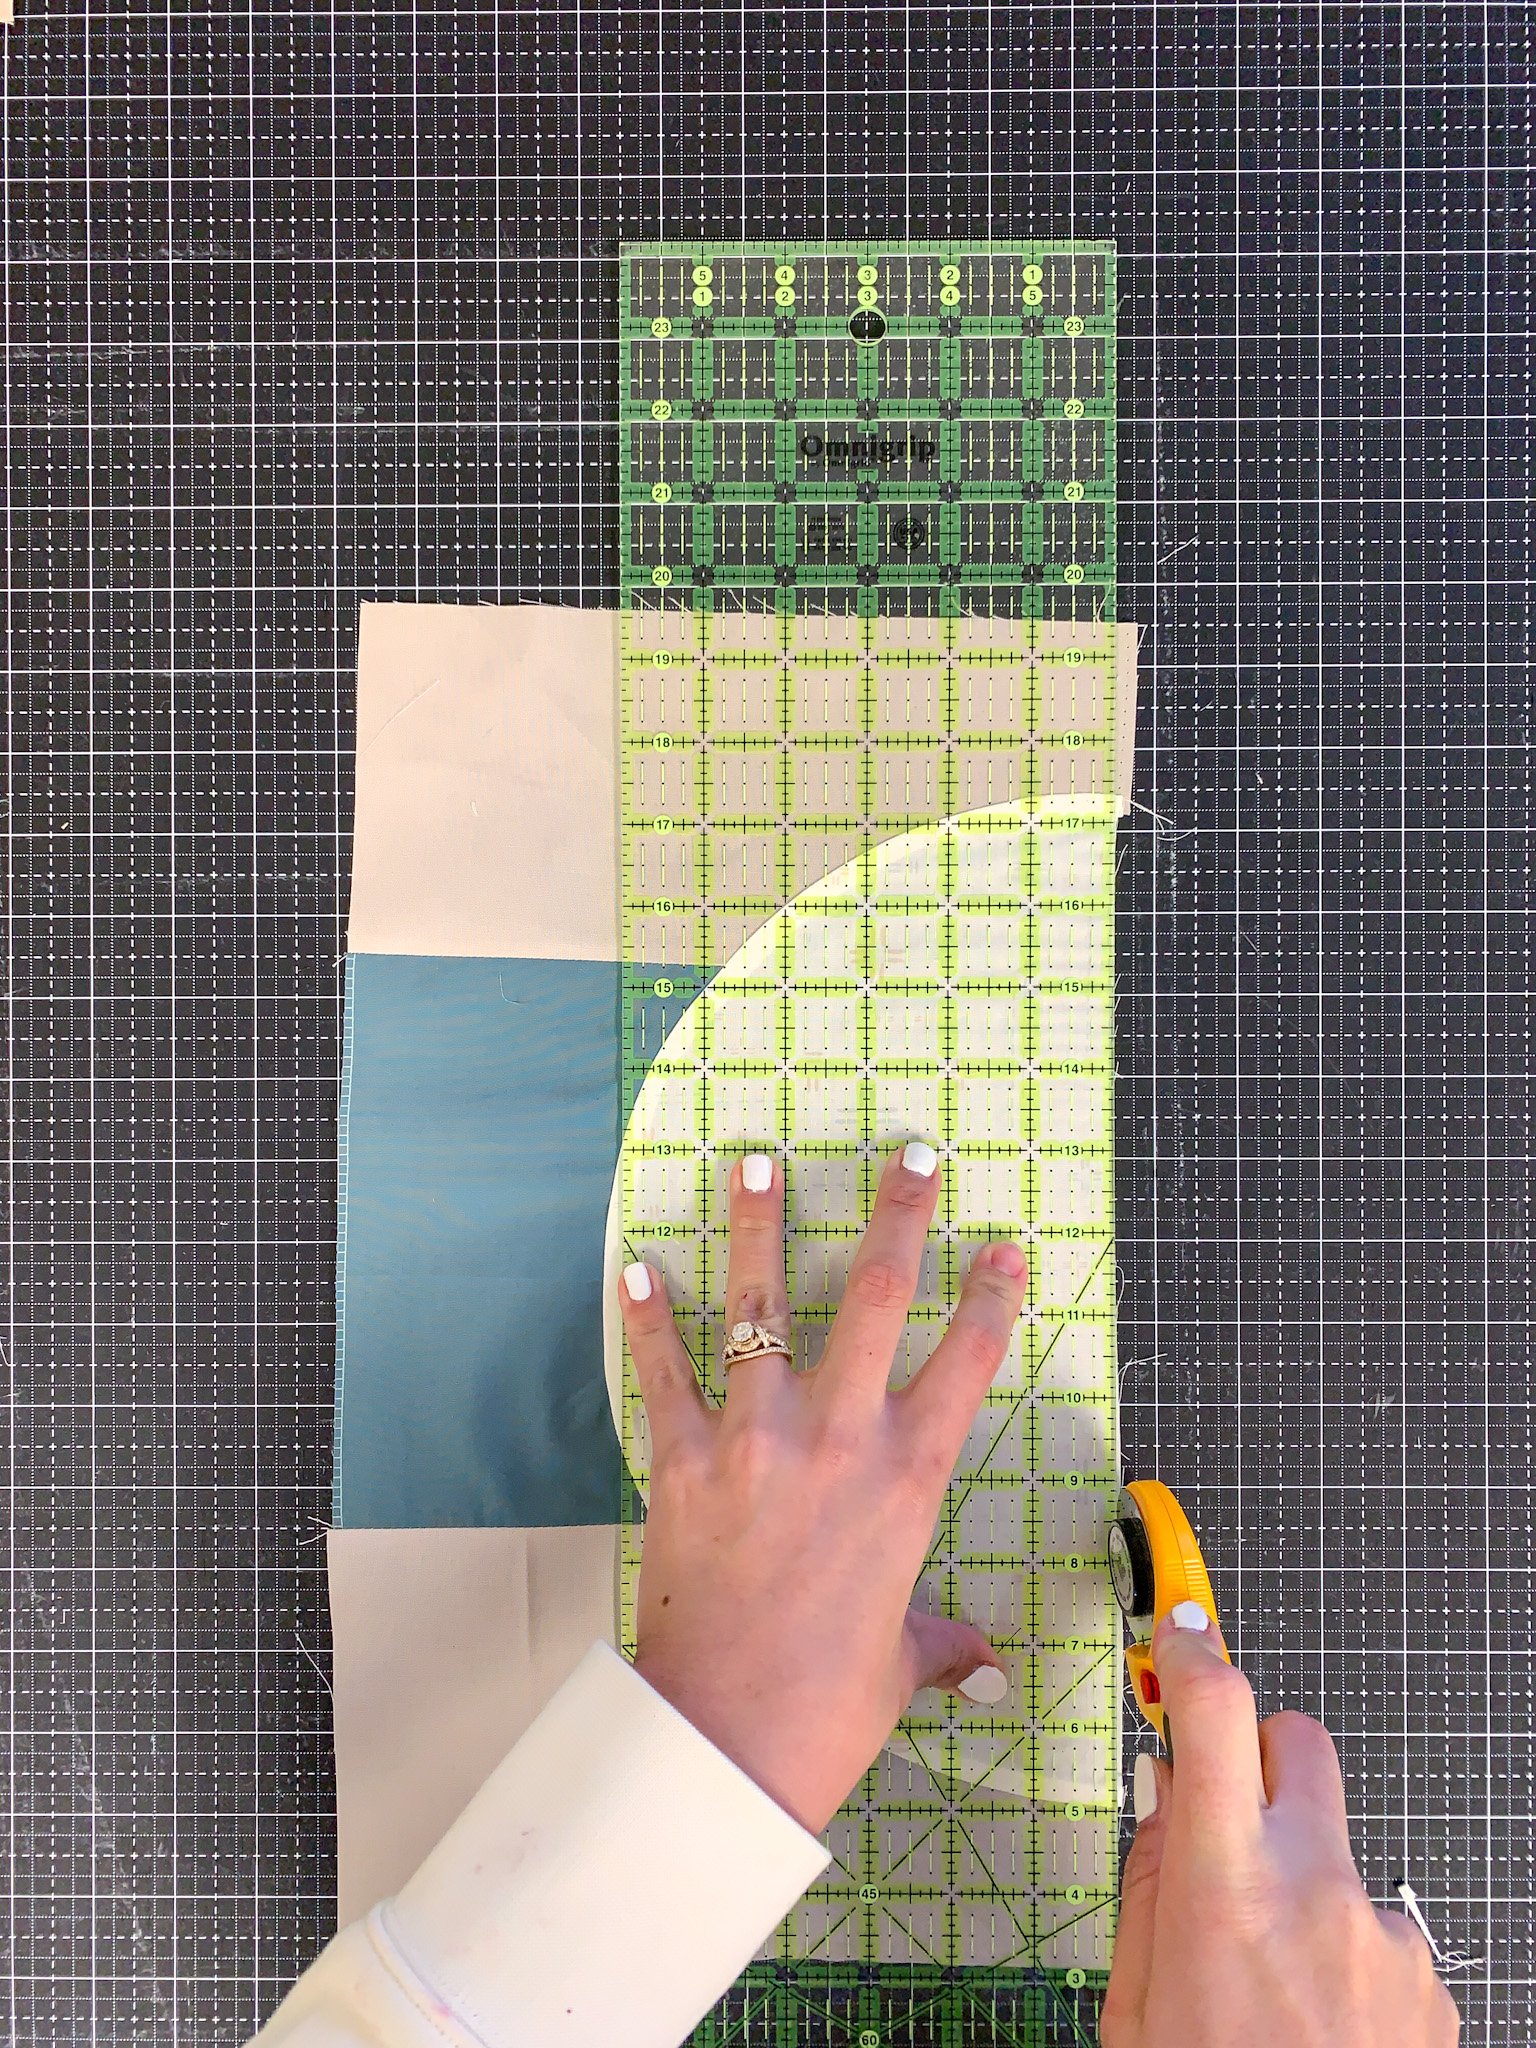
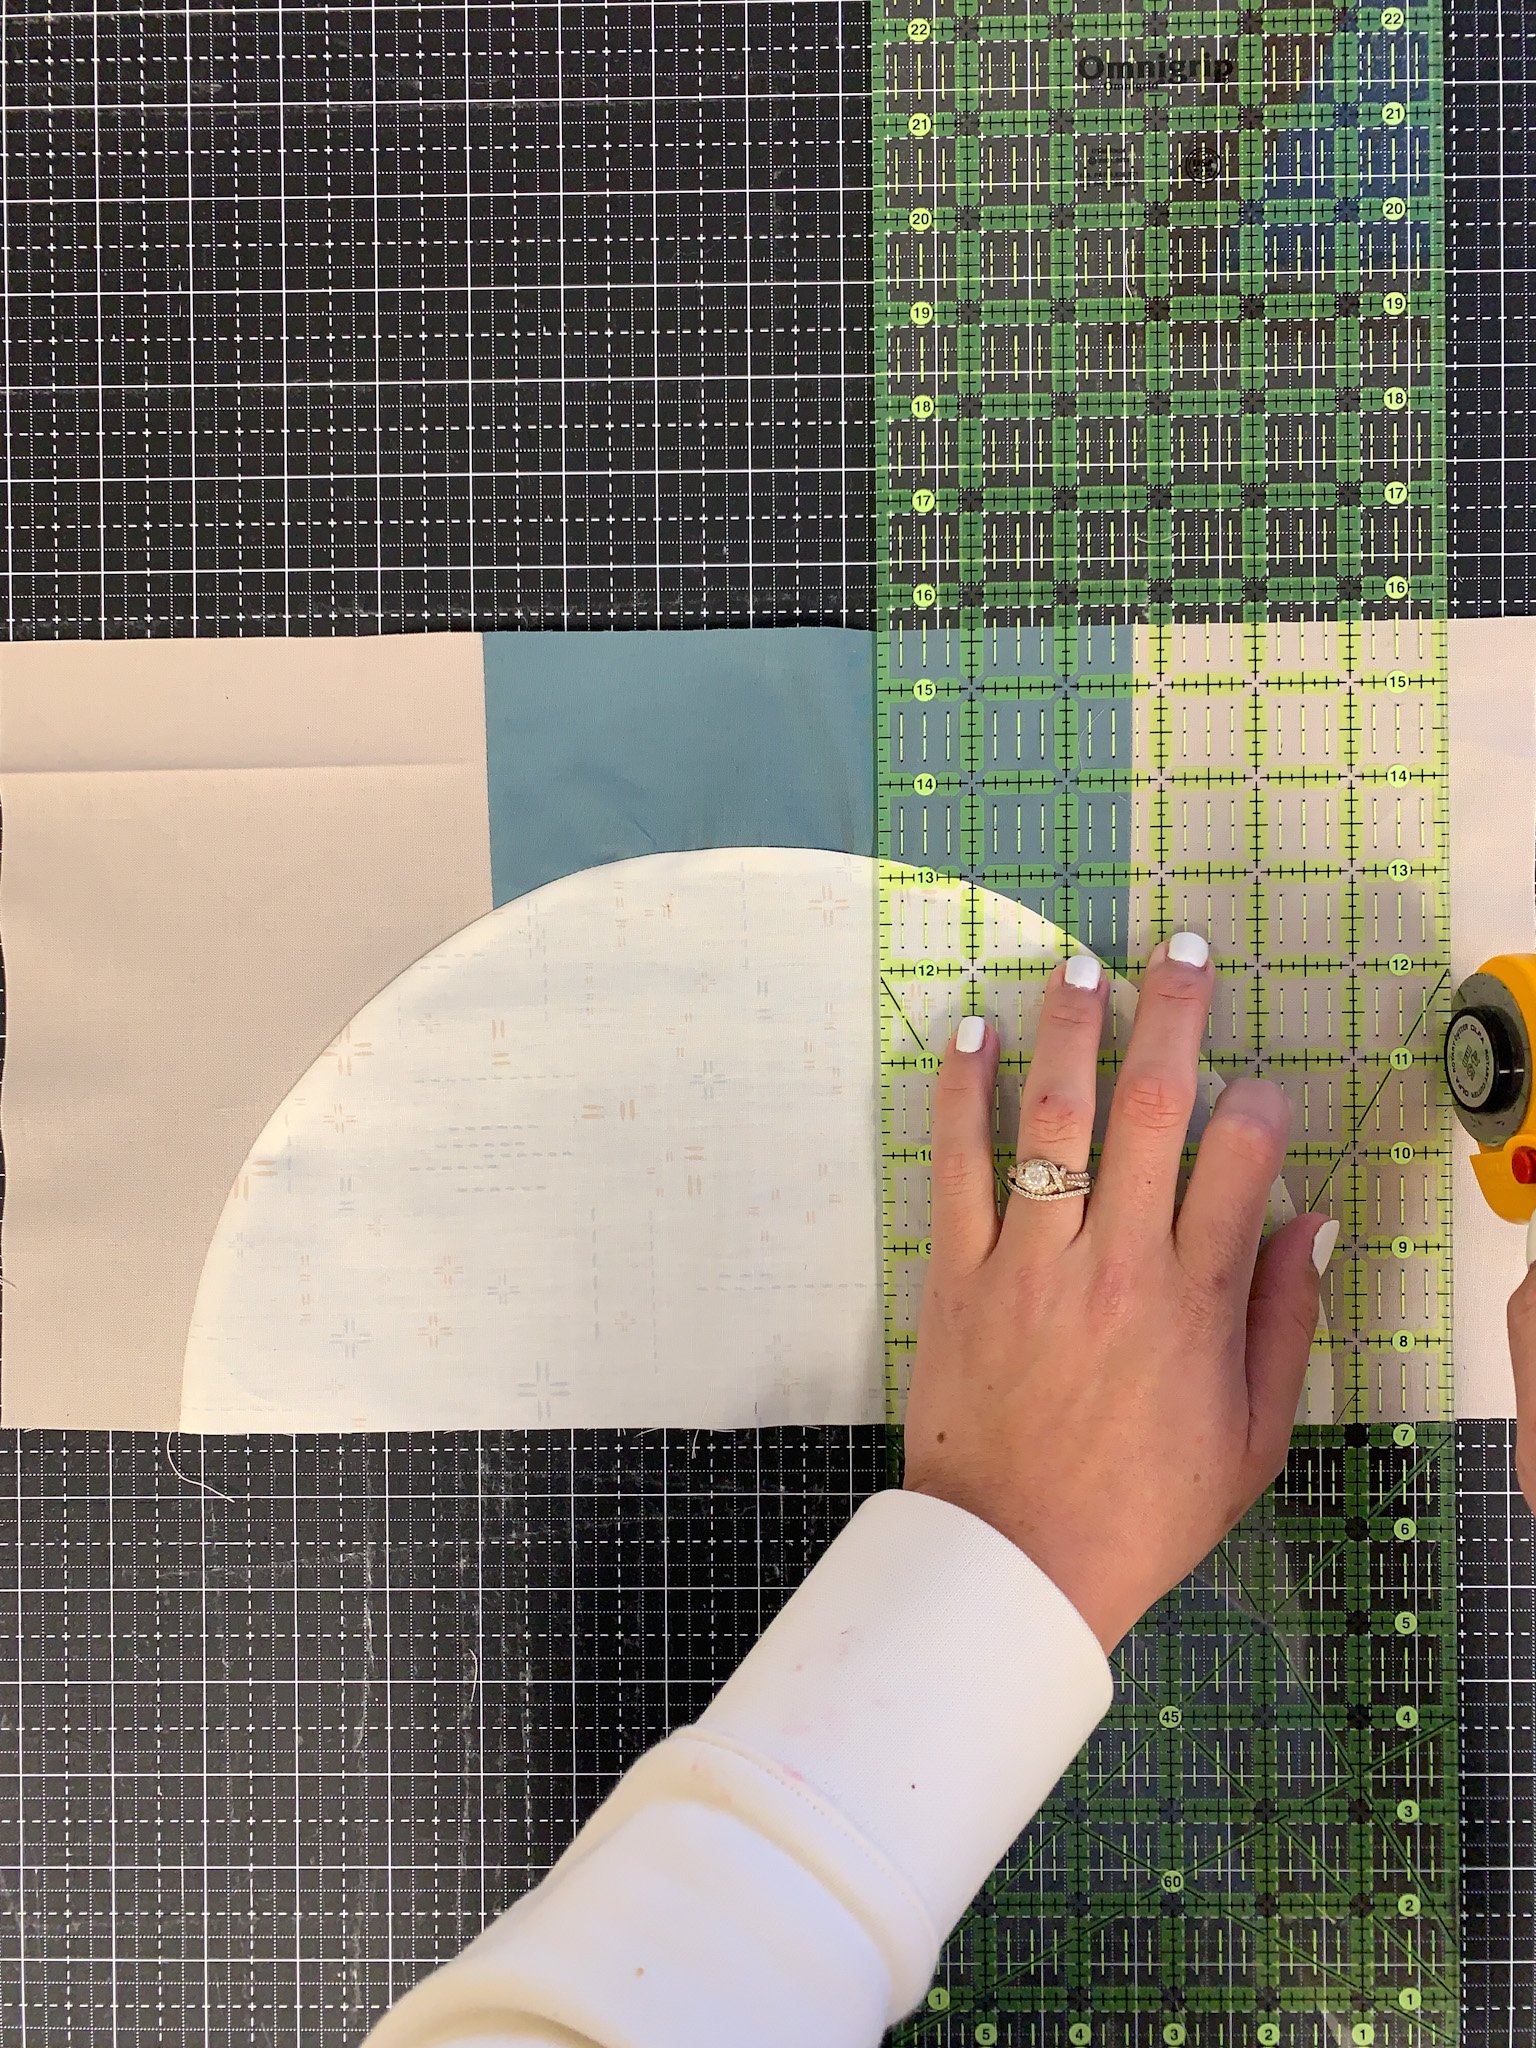
Step 2: Use templates to cut curves
There are a lot of ways to cut curves, but if you are new to them, this is the best way to get a good result.
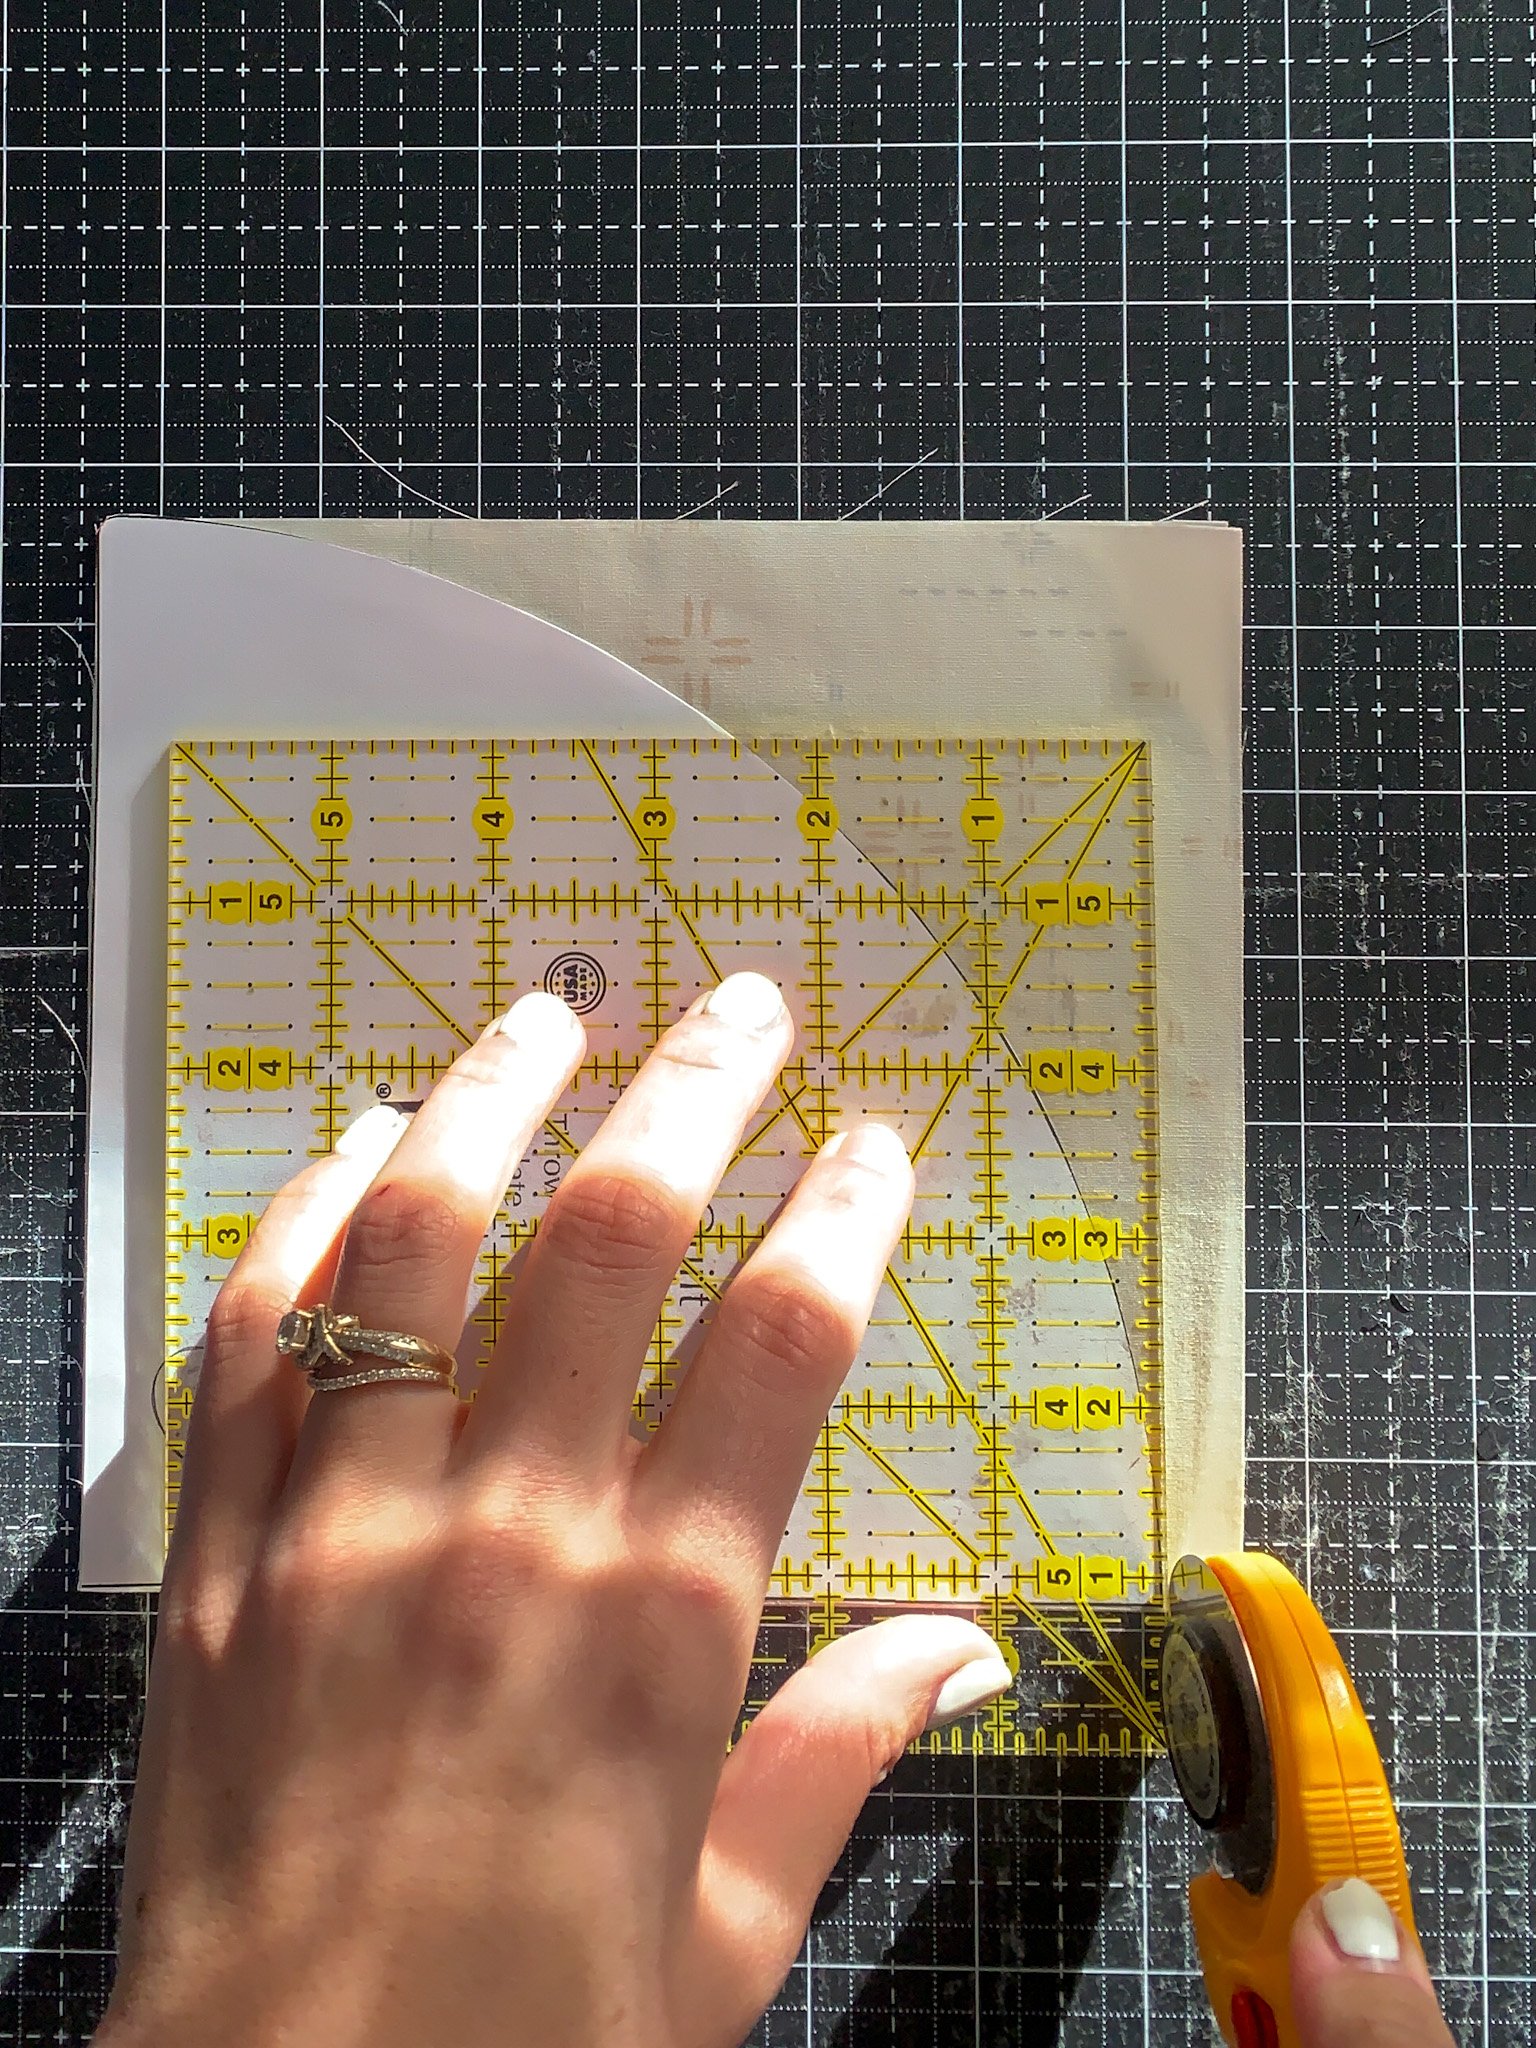
Fold blocks in half along the midline
Take your adhesive spray (this is the one use) and lightly coat the back of the template. Align the template with the folded edge. Use your 6” x 6” ruler to guide and stabilize the rotary cutter as you cut along the template.
Repeat until 3 blocks and 3 half circles have been cut.
Step 3: Sew Curves
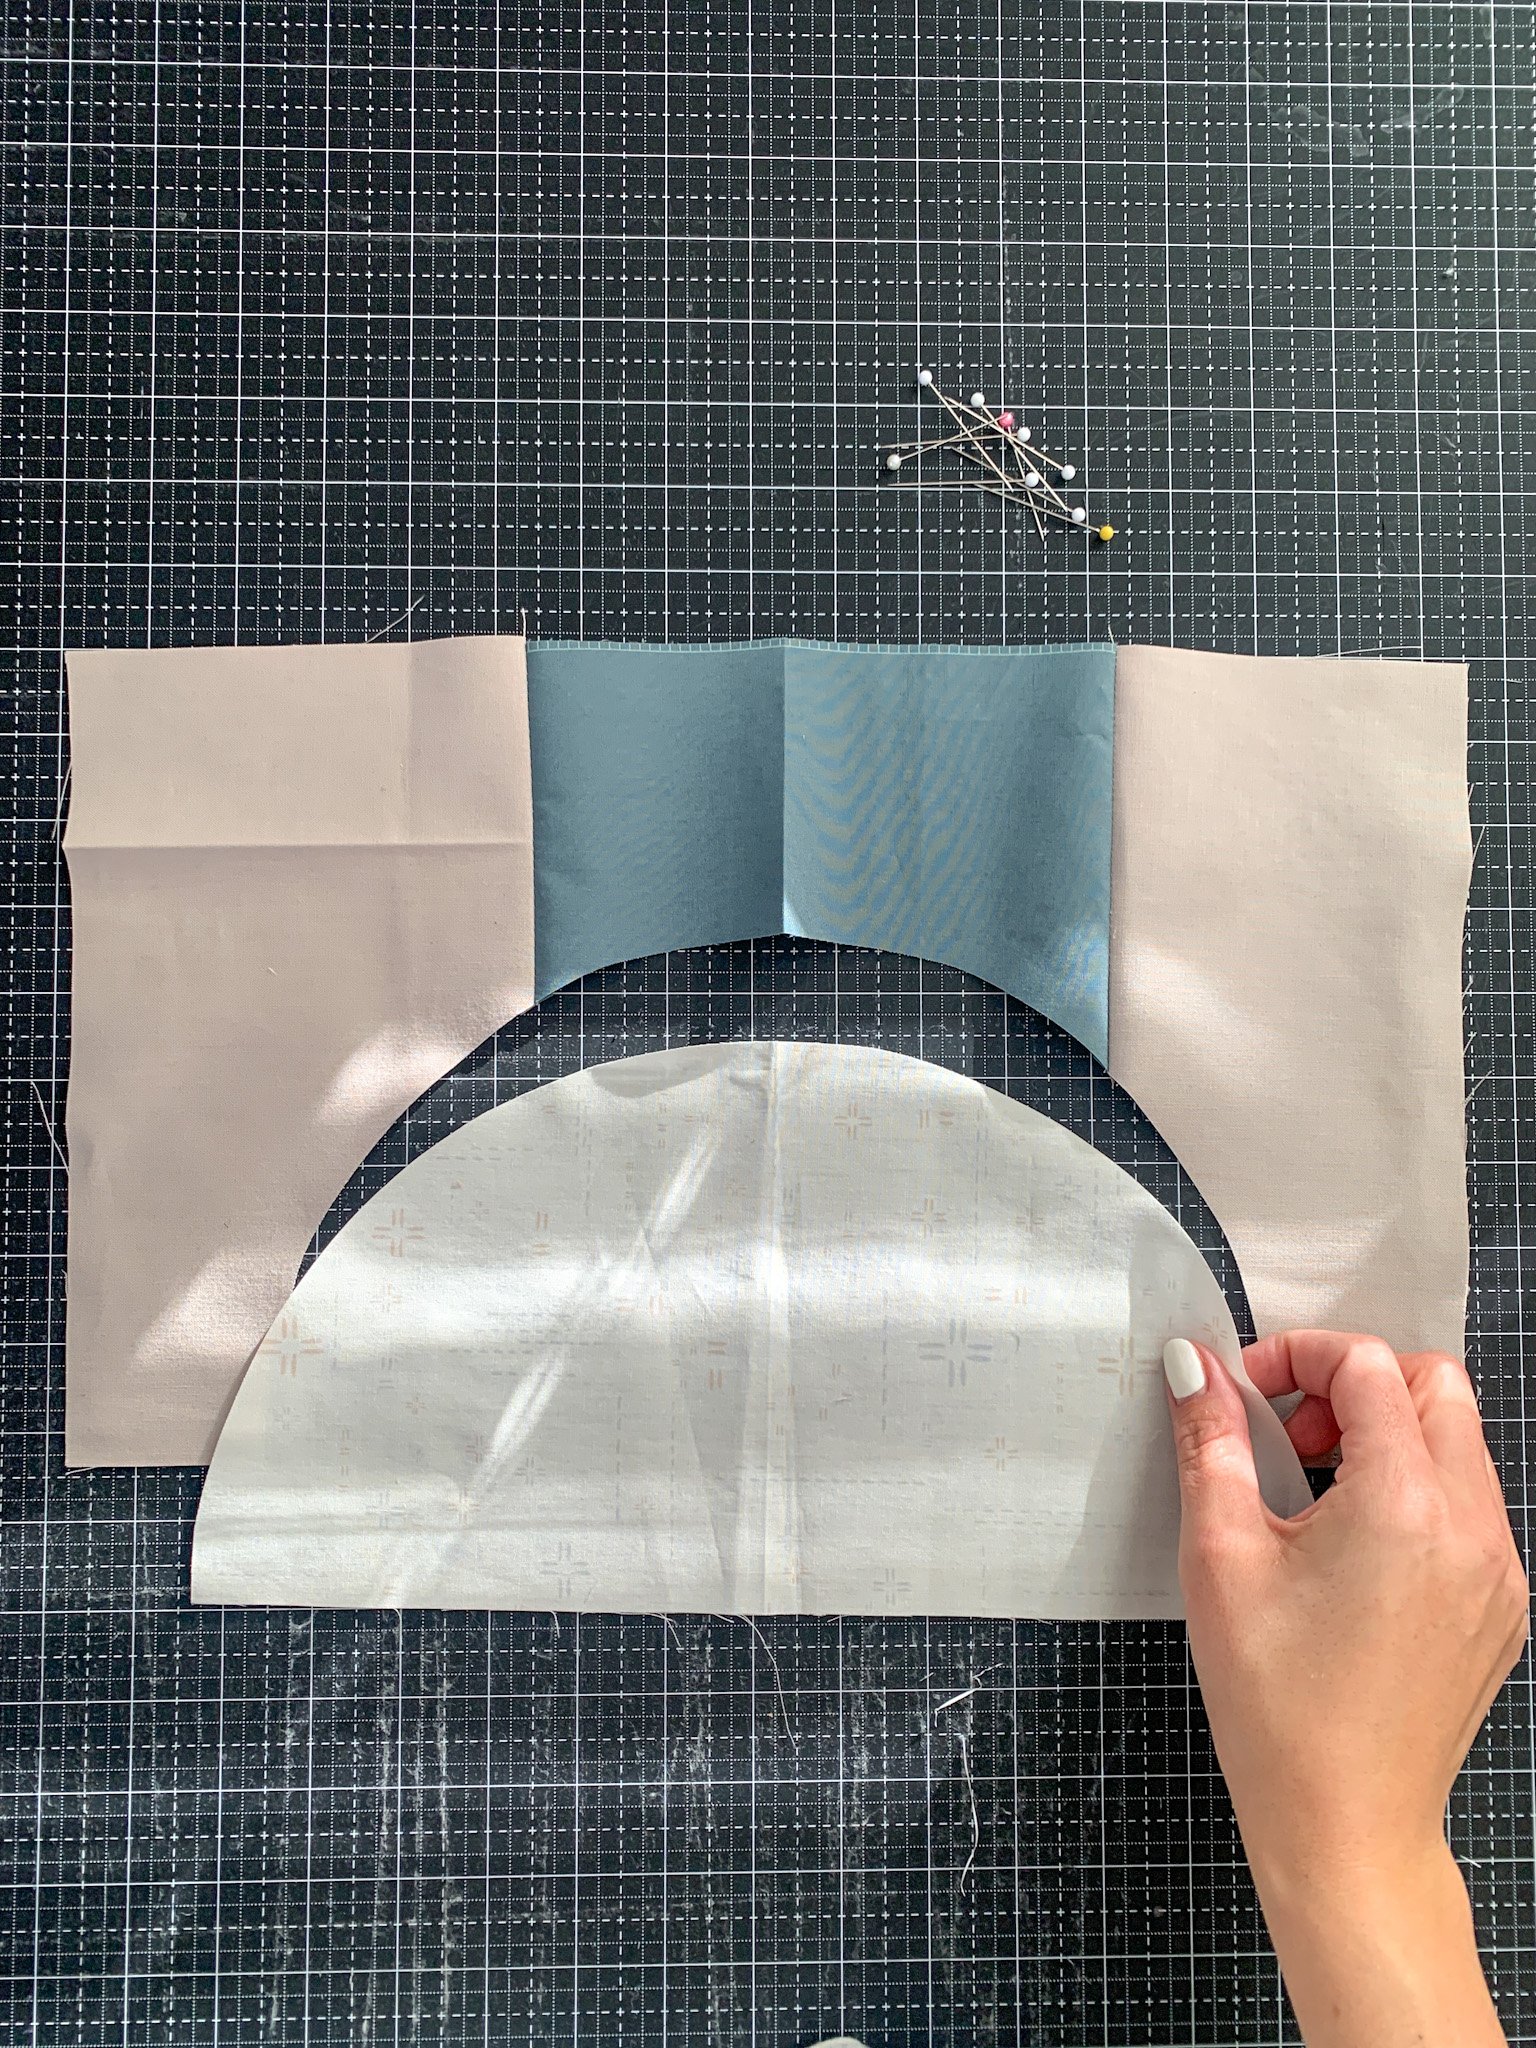
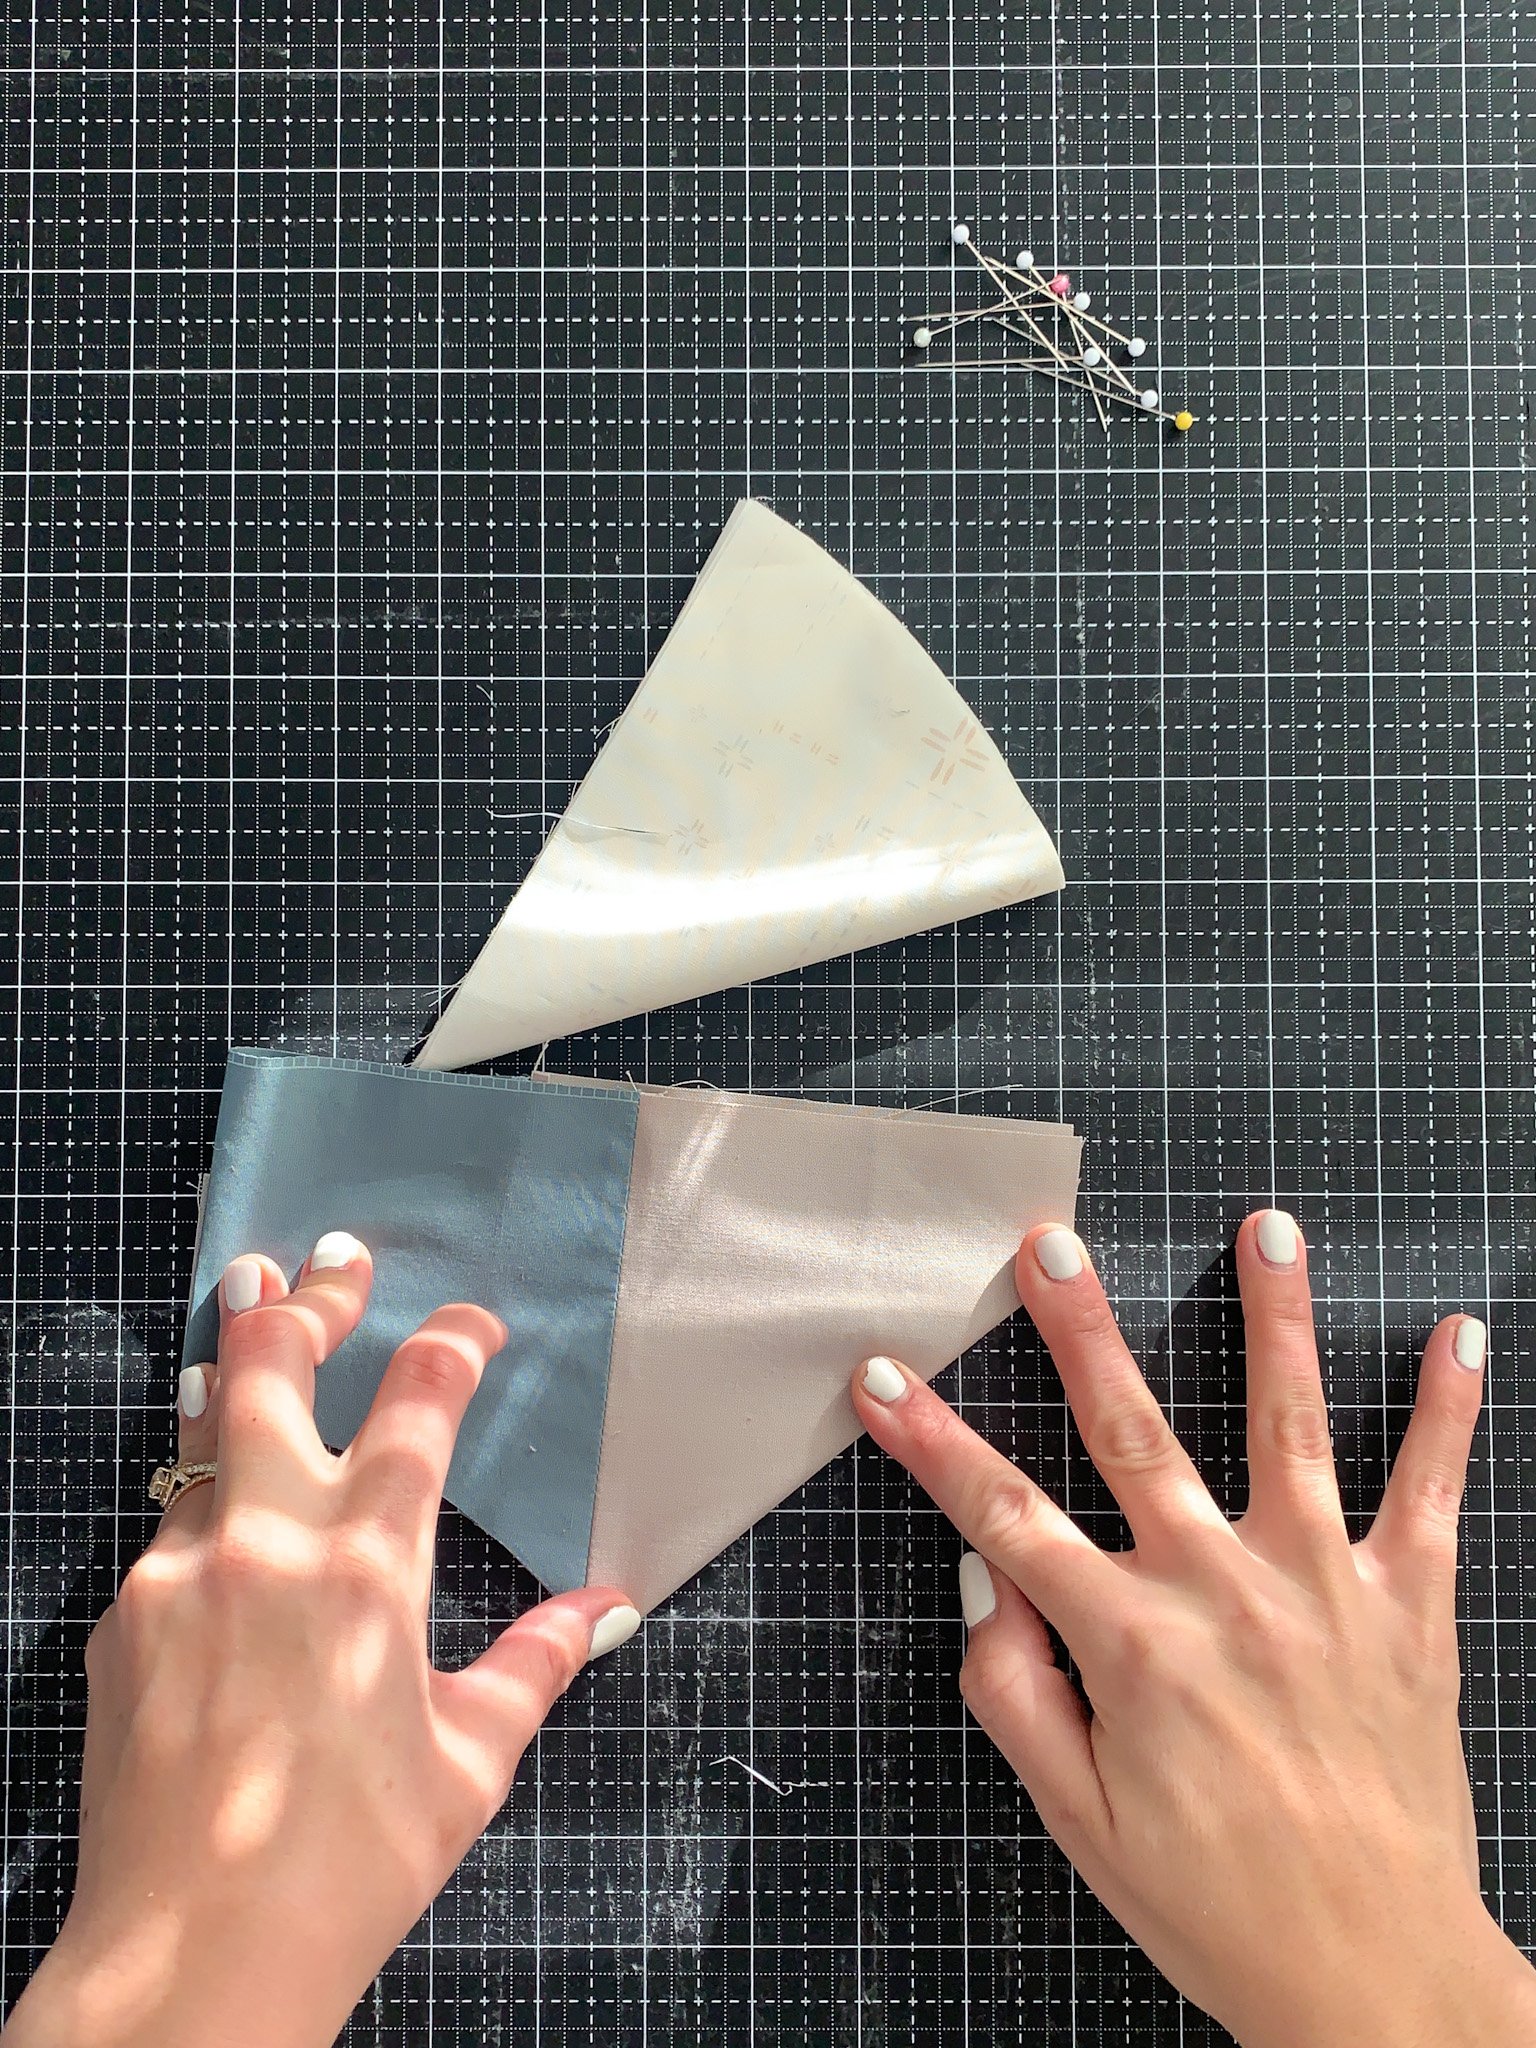
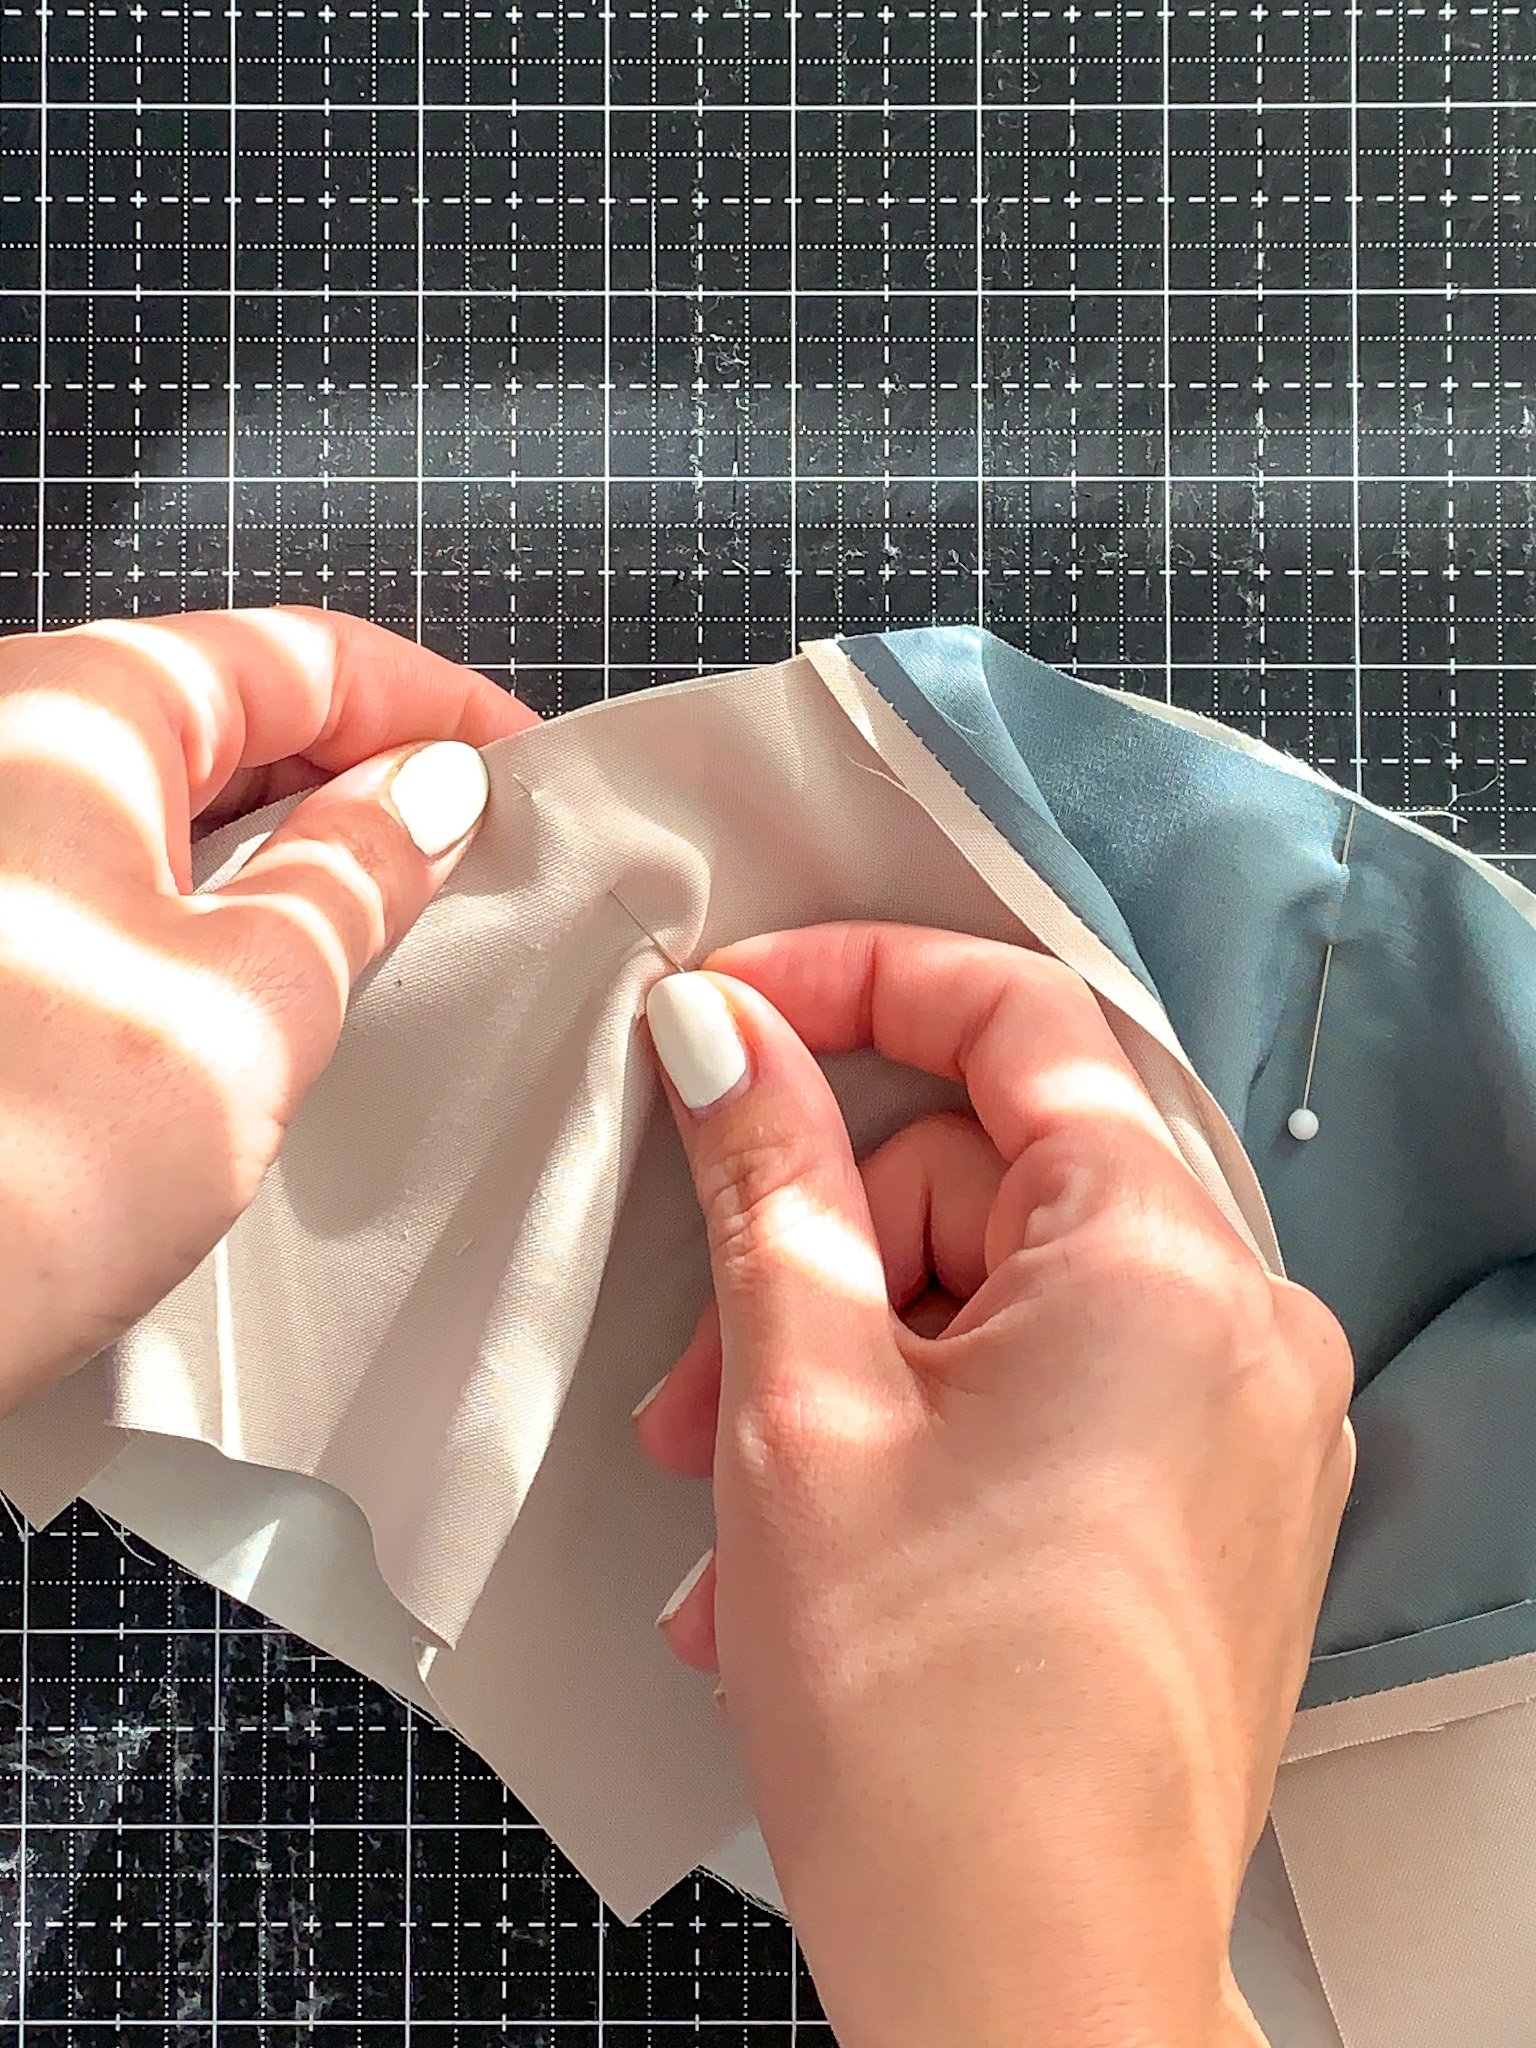
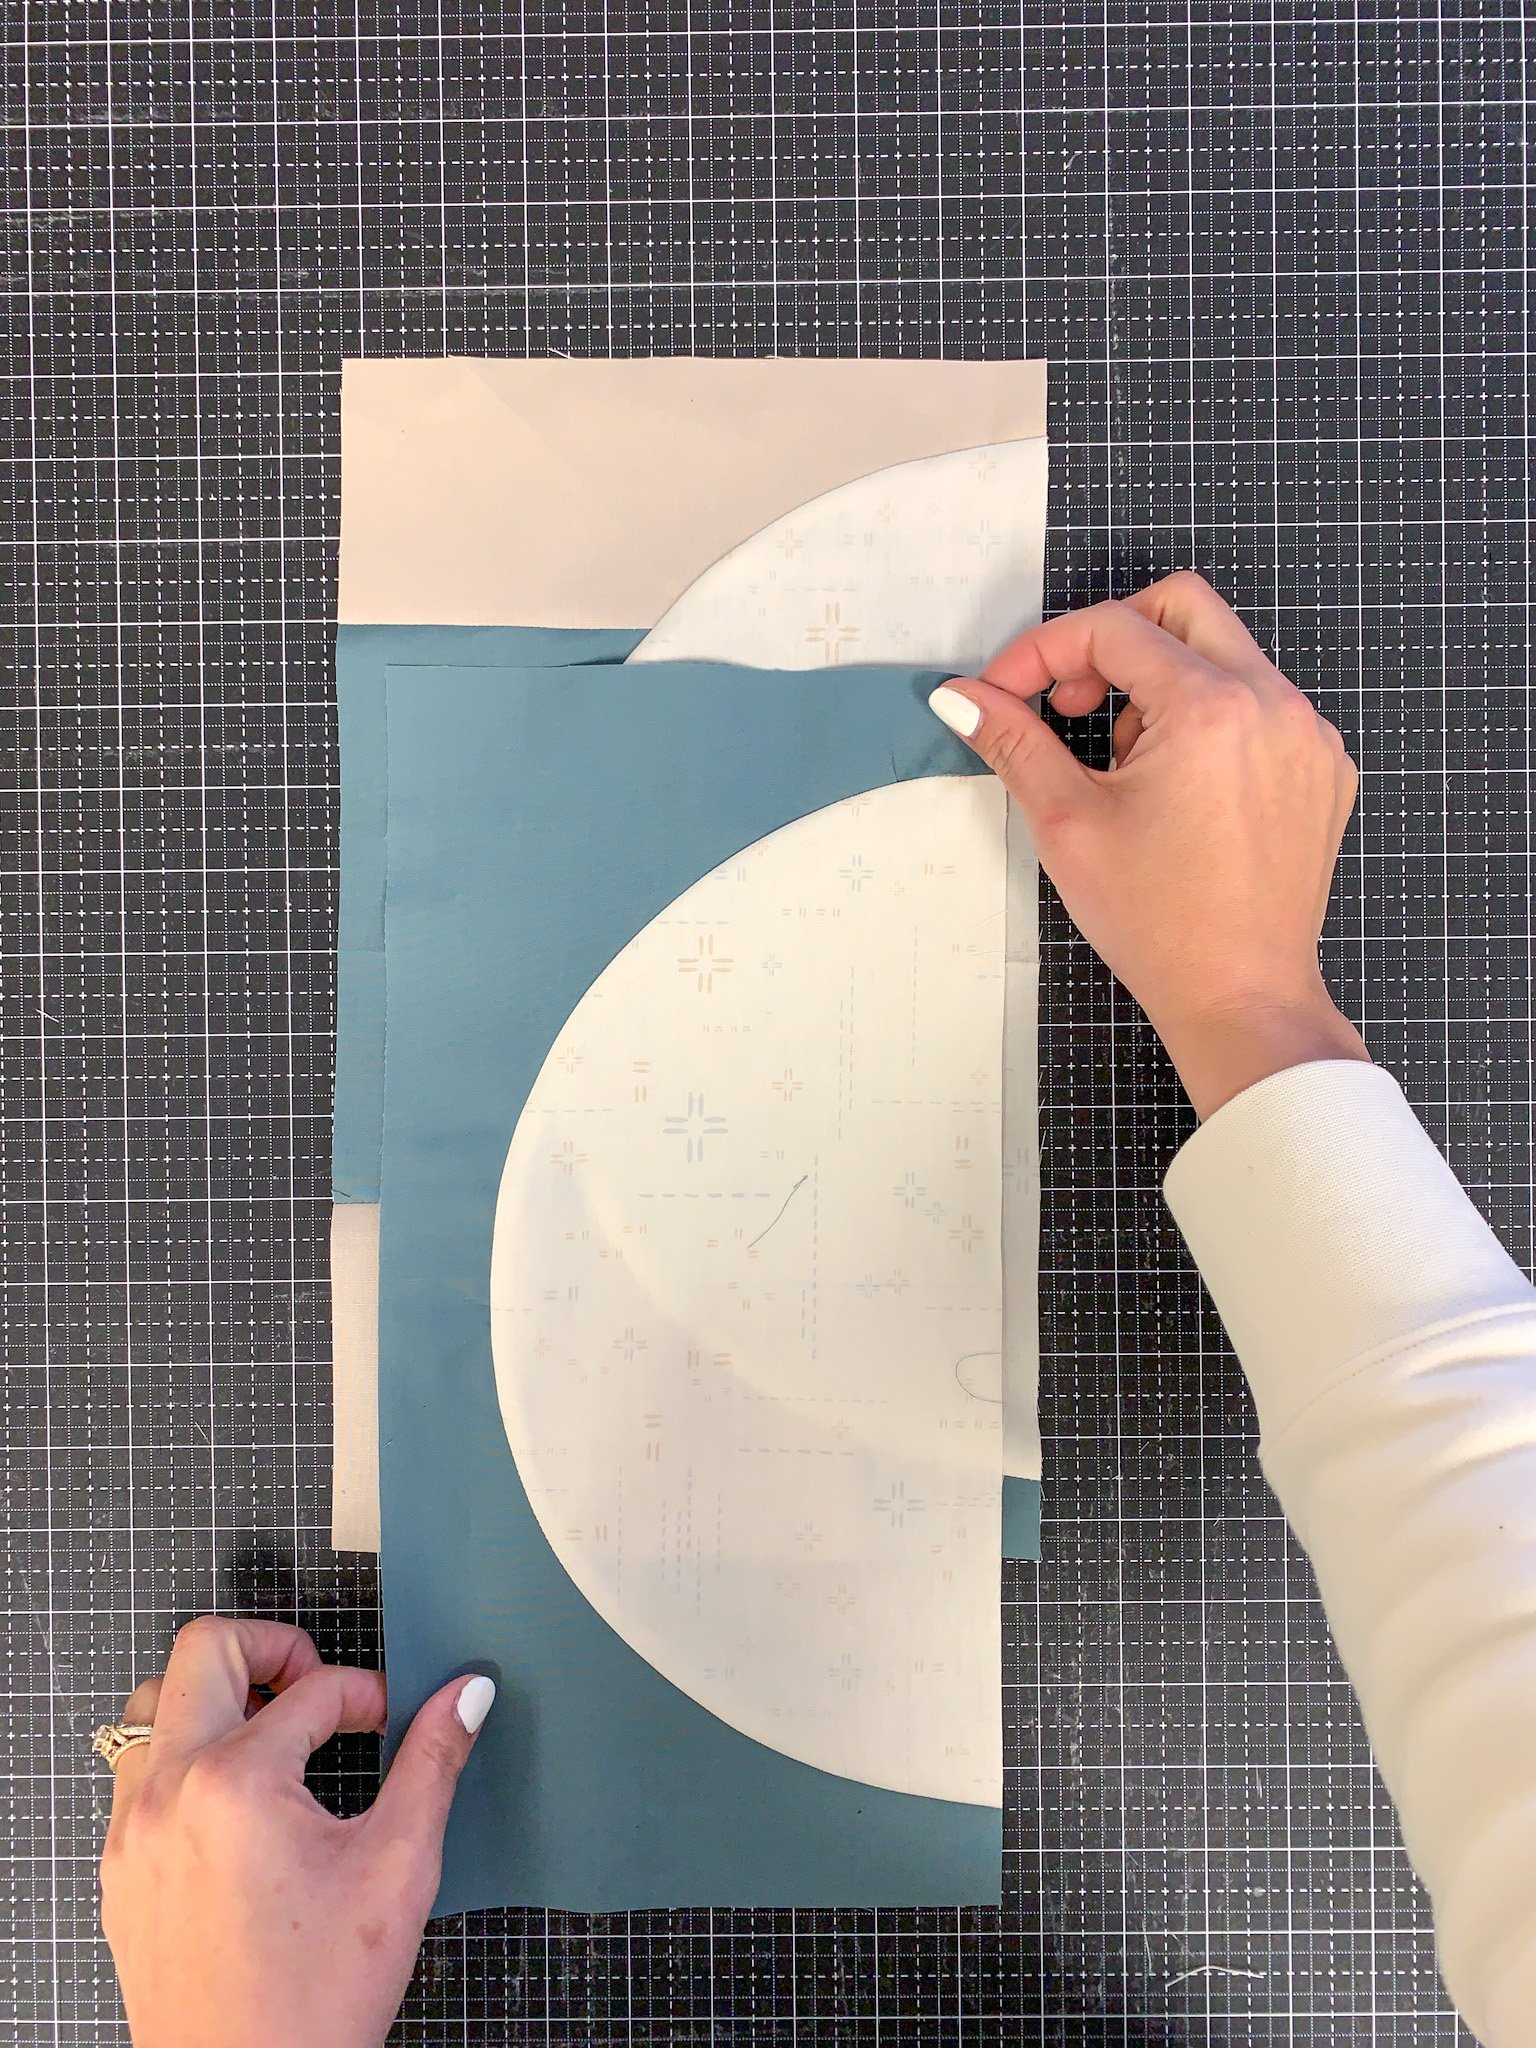
The key to successfully sewing curves is preparation. Be sure to prepare the blocks with adequate, but not excessive, pinning. Fold the blocks in half, then in half again (as shown in photos) to create another set of creases.
Align the creases of a background curve to the creases of the half circle. Align the edges and pin the corresponding creases together. If desired, add a few more pins in between the creases. Always pin the outer arch to the inner curve, so the background fabric is on top when feeding the curve through the machine.
Begin stitching slowly along the edge, lightly arranging the fabric as you go. Do not pull on the background piece, it will distort the final shape. A video is provided below to demonstrate sewing a curve. This is a slow process! My high school basketball coach used to say, “If you don’t have time to do it right, when are you going to have time to do it over.” This is SO TRUE of sewing curves. You will never regret taking the extra time to do it right the first time, rather than rushing and earning a date with your seam ripper.
Just remember, these pieces leave room for trimming, so don’t stress if the edges don’t line up perfectly.
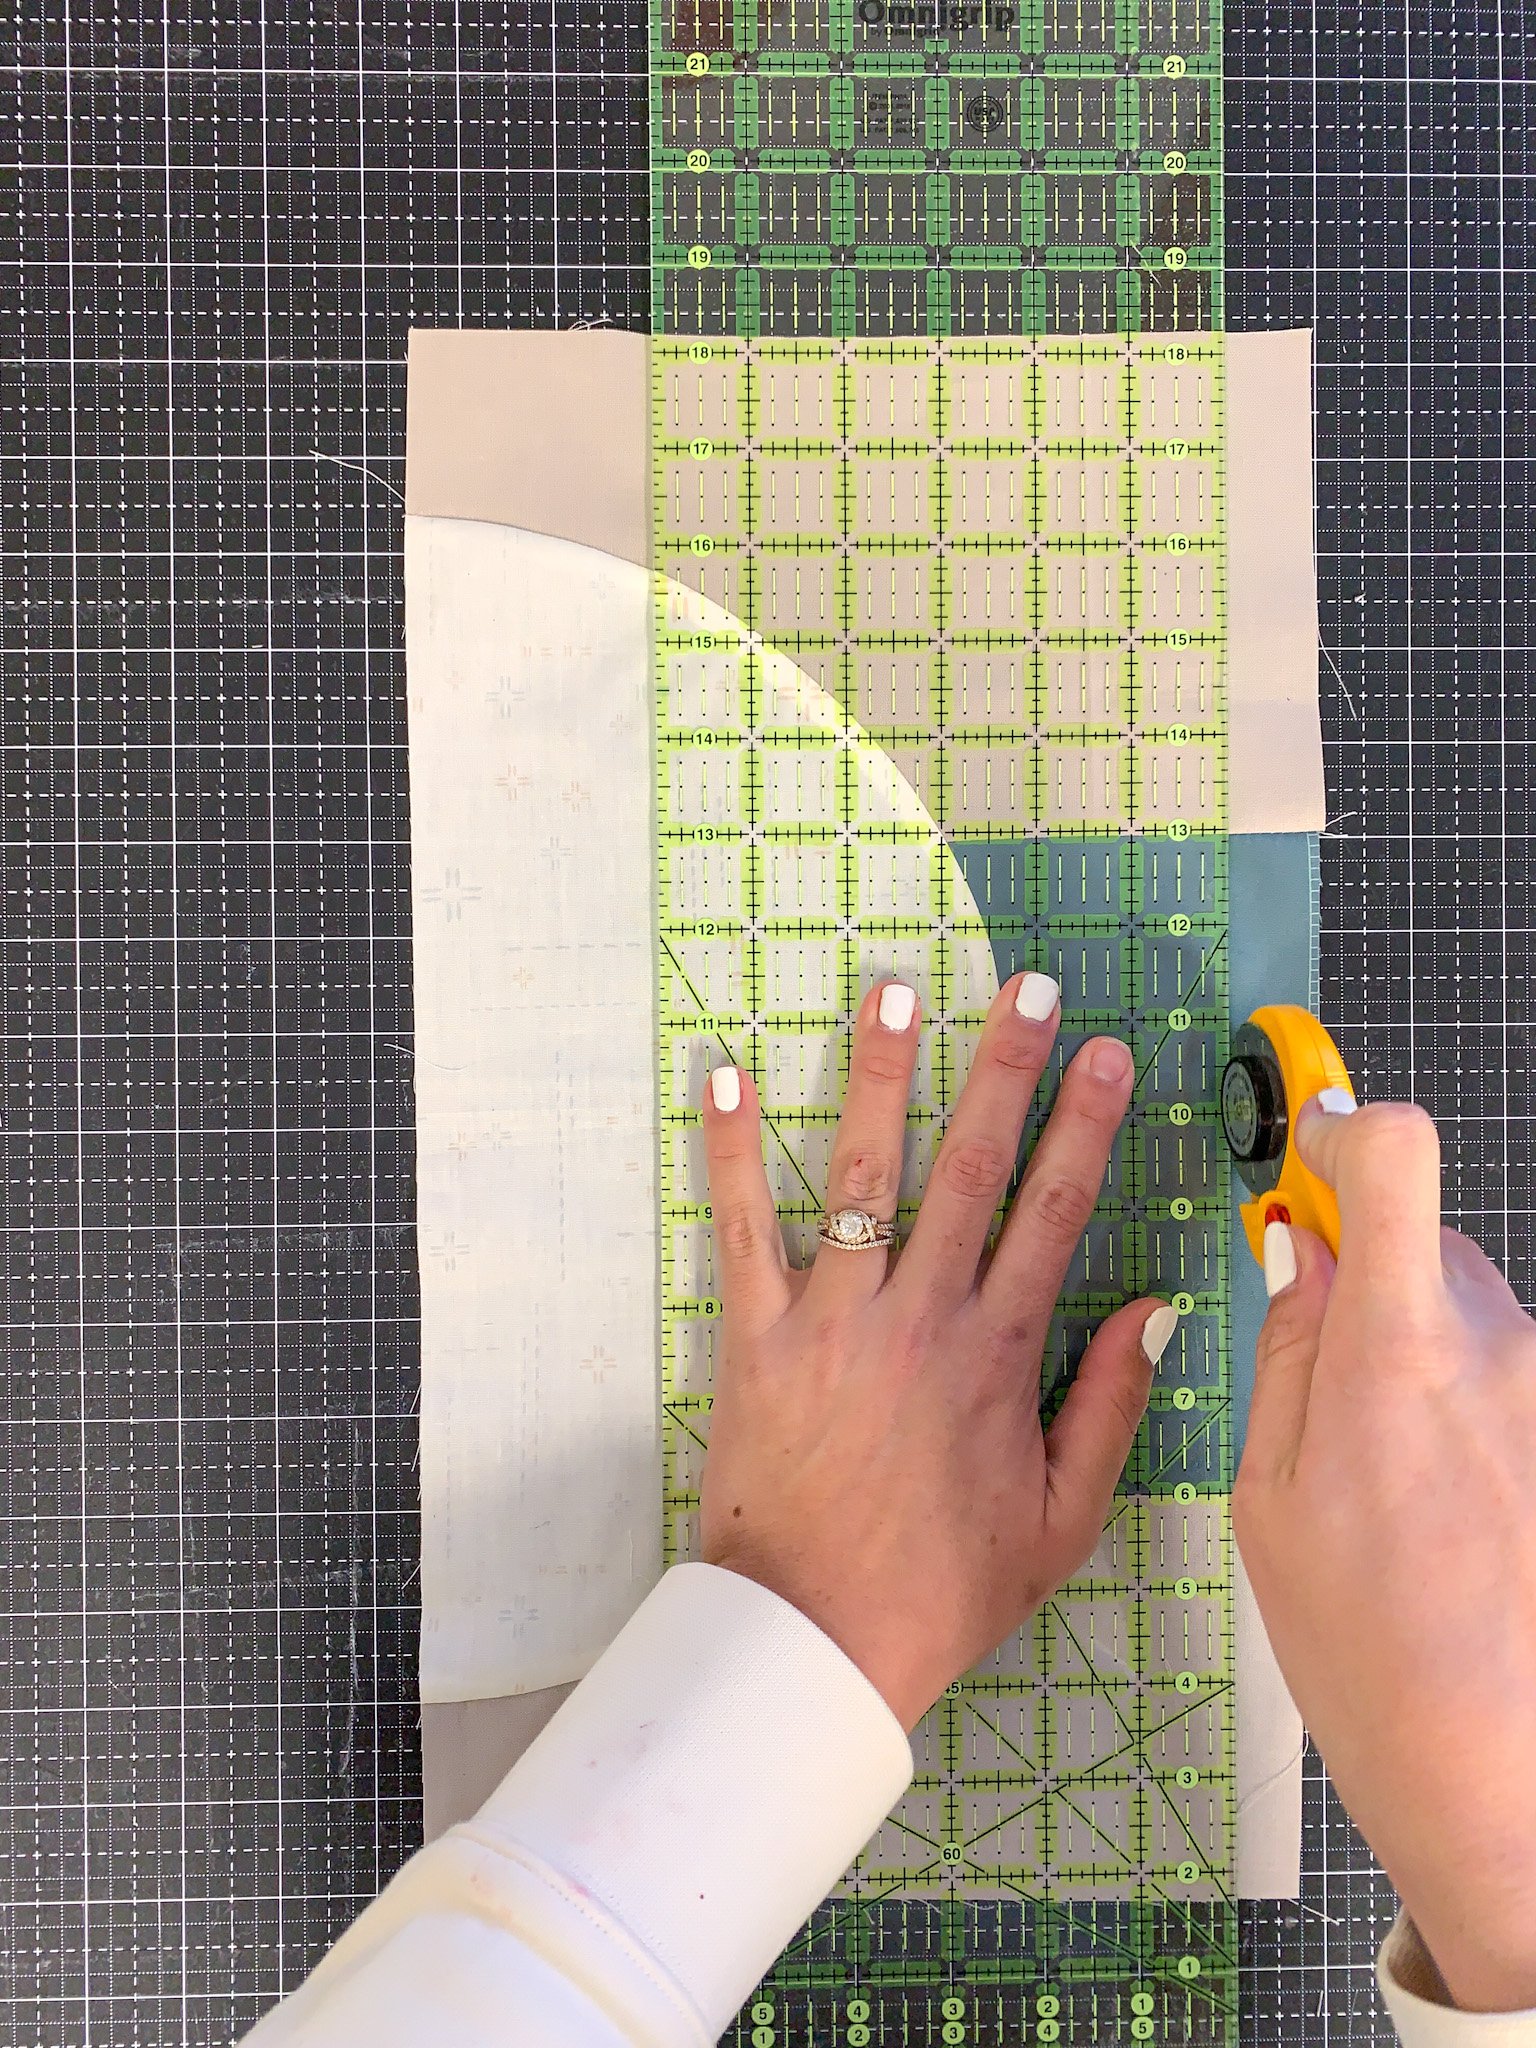
Step 4: Trim curved blocks — BE SURE TO NOTE THE BLOCKS ARE TRIMMED TO DIFFERENT SIZES.
Read Step 4 again!! Then consult your pattern. The first time I made the Rhythms Quilt, I had to redo Block 1 5x, because I kept trimming the blocks the wrong sizes. Be very certain of which blocks you are trimming, and what size they should be!
Square up the lower edge first- take as little as possible from the half-circle
Take a pencil and lightly mark the midline (crease) of the half circle. This will be the center of your final trimmed block (ex: final measurement is 14 1/2” so the center should be at 7 1/4”.)
Trim a little at a time to make sure you are maintaining symmetry
CHECK AGAIN TO MAKE SURE YOU HAVE TRIMMED TO THE CORRECT SIZE. Sorry, I didn’t mean to yell….but trust me, this is important.

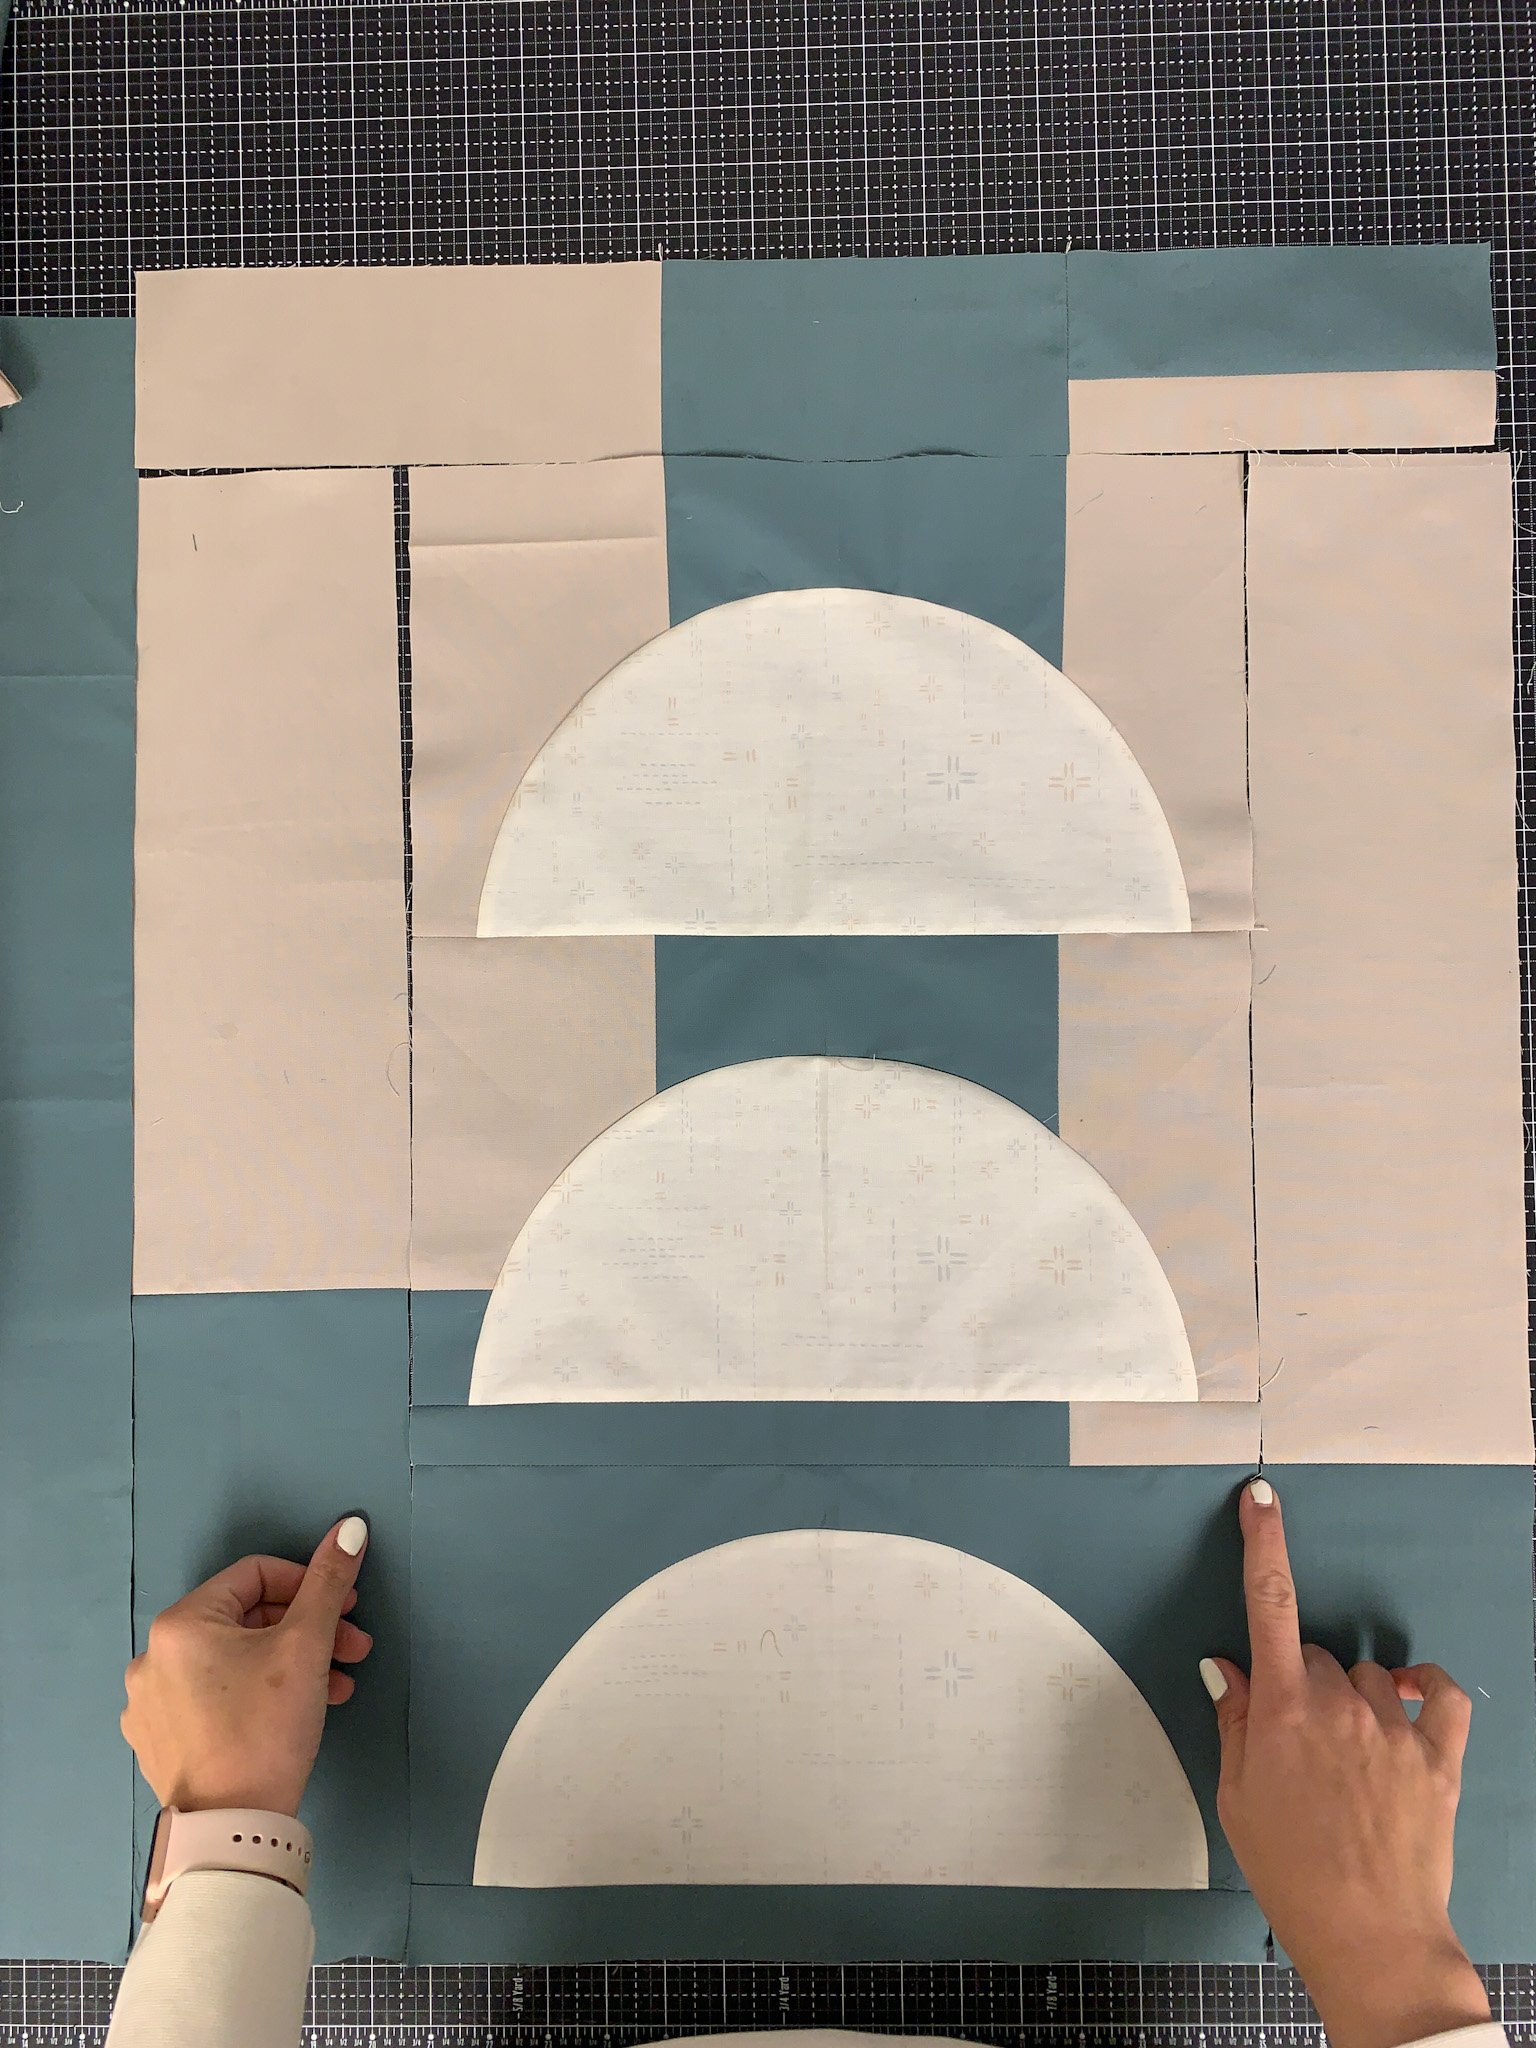
Step 5: Piece the rest of Block 1
Follow the instructions and diagrams in the pattern to piece the blocks together.
A scant 1/4” seam is so important!
Do not trim blocks until you have reached Step 6, Figure 14 in the pattern! If things are not lining up correctly, go back and re-read the pattern or phone a friend to verify you have followed the instructions correctly. If you trim and/or square-up too much along the way, the final block will not align correctly.
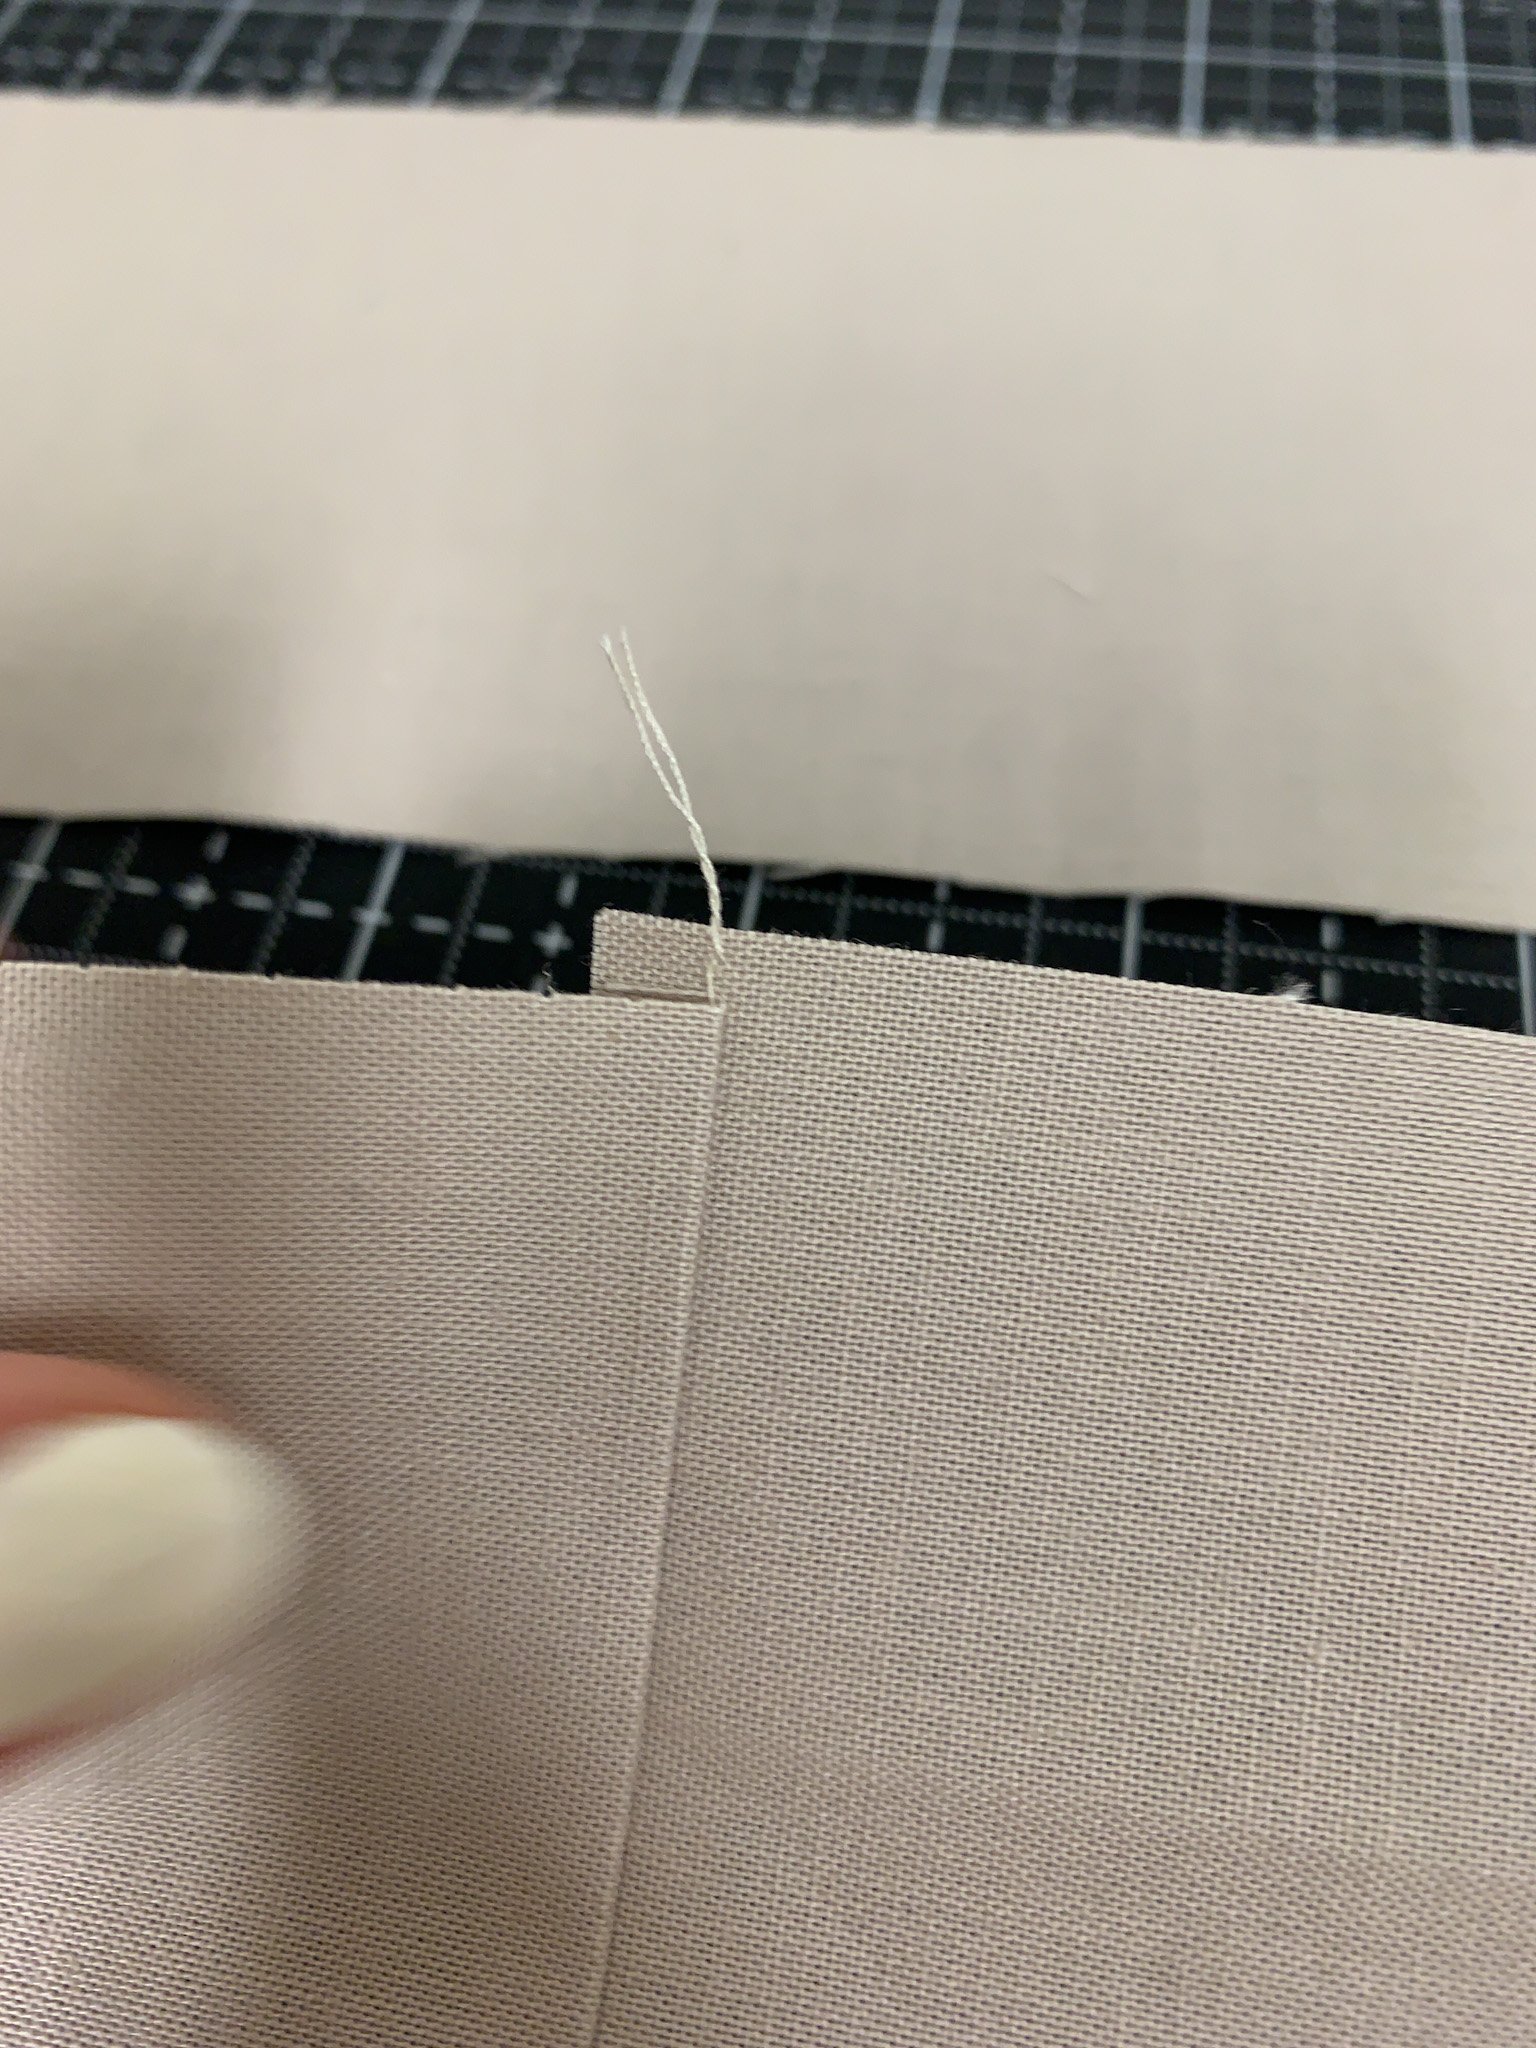
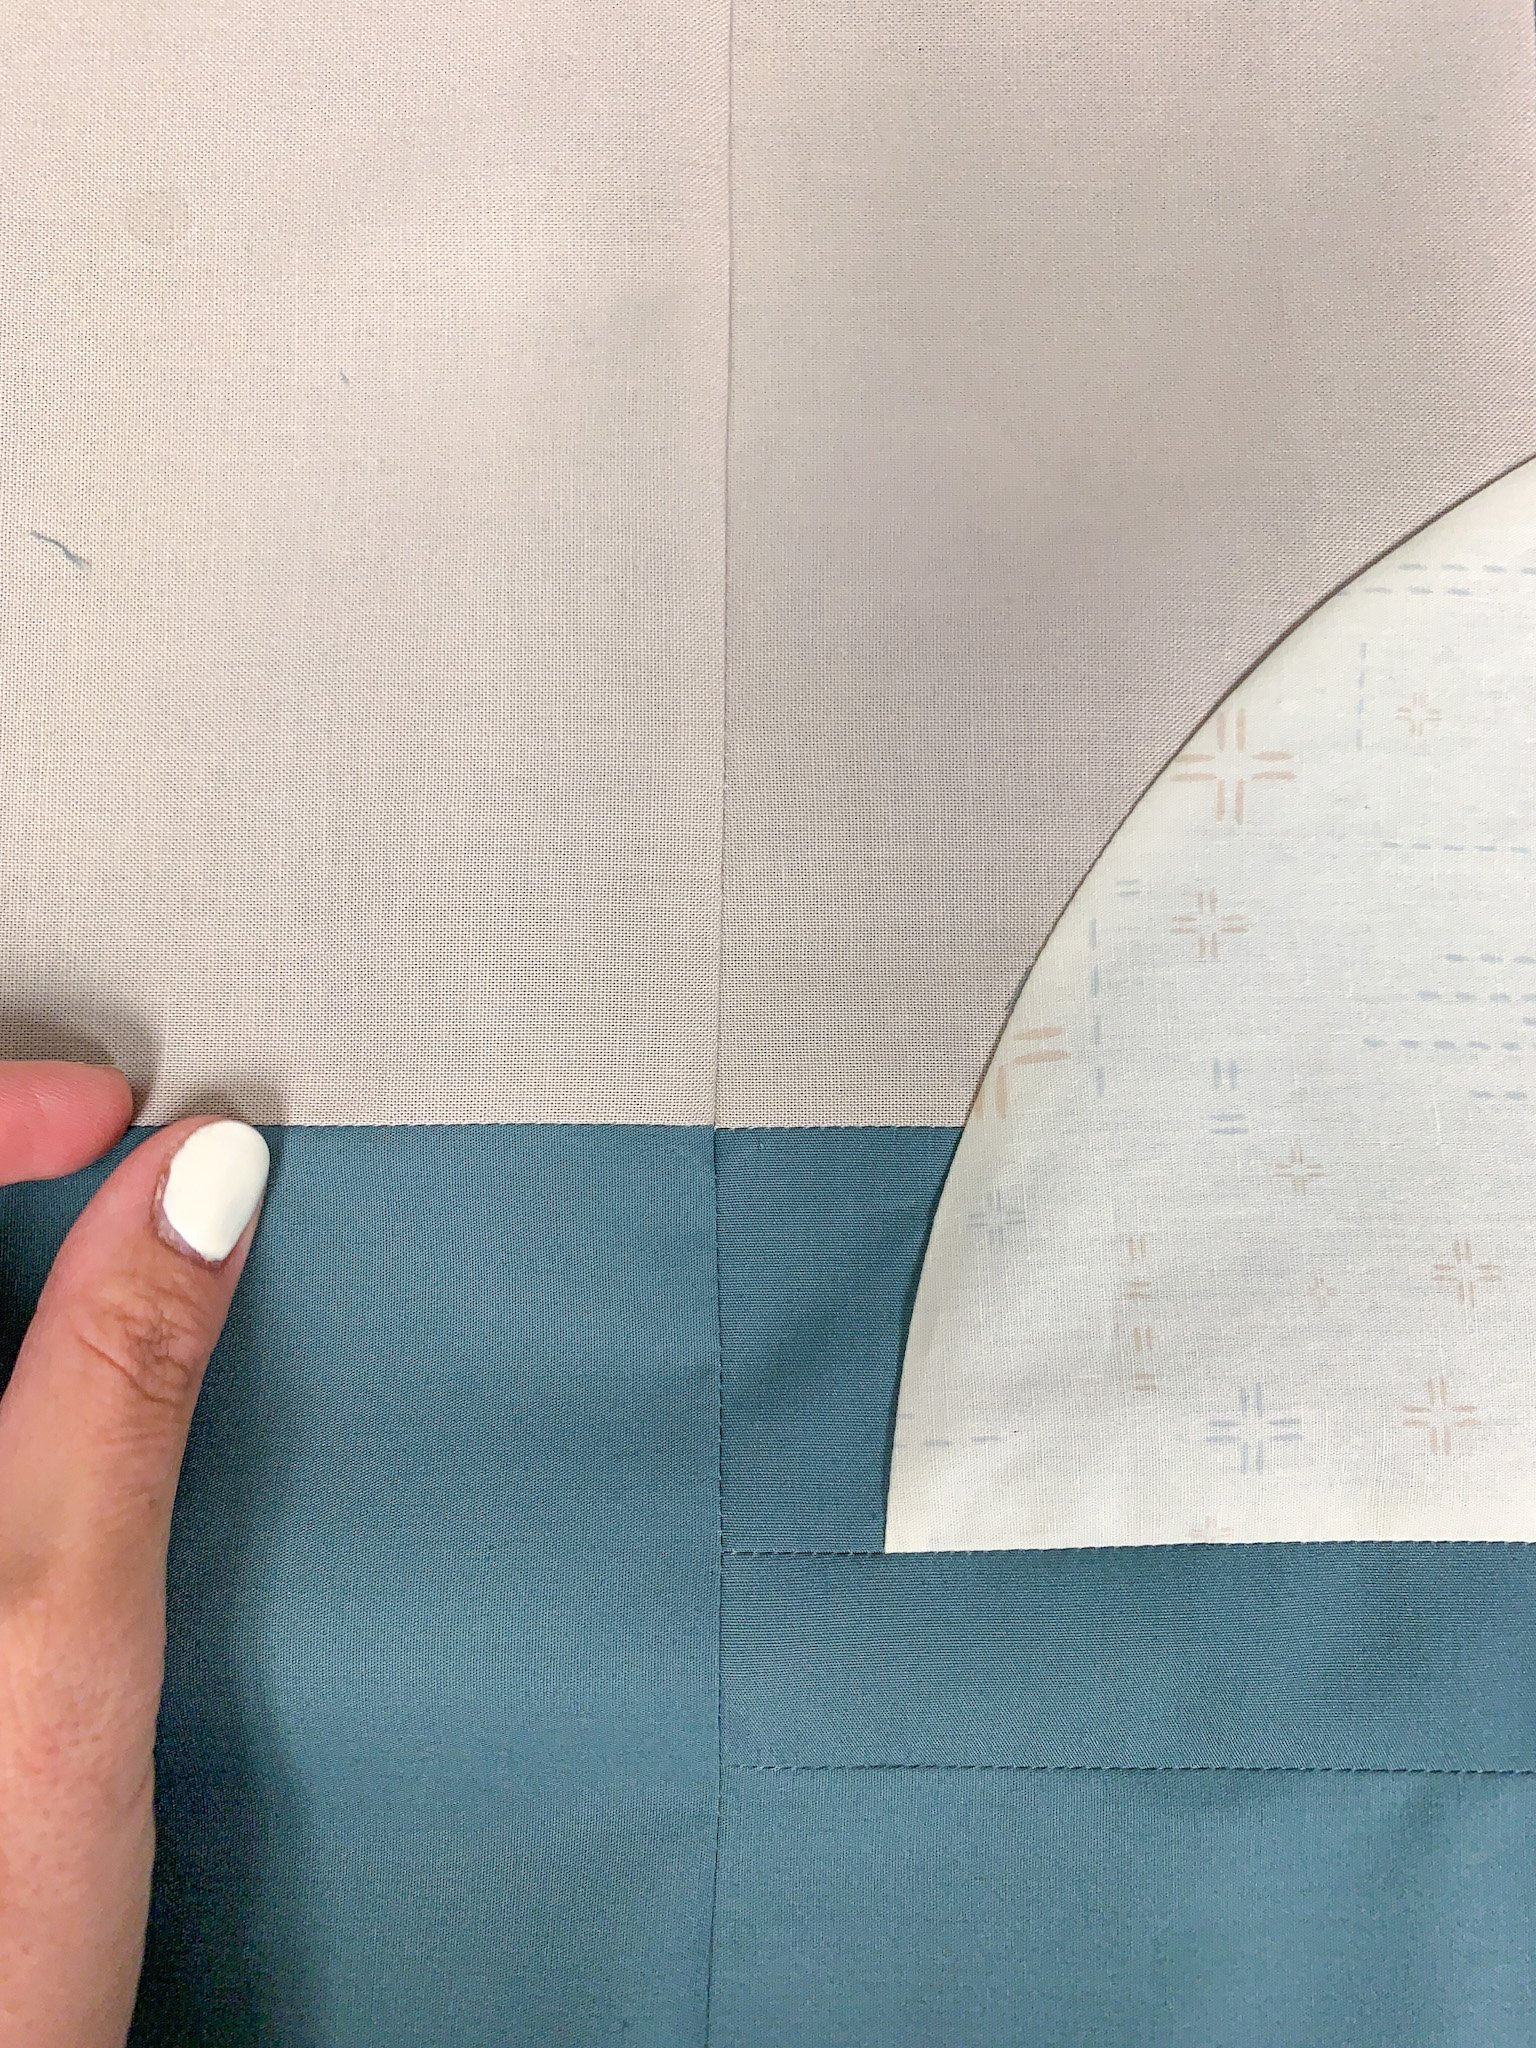
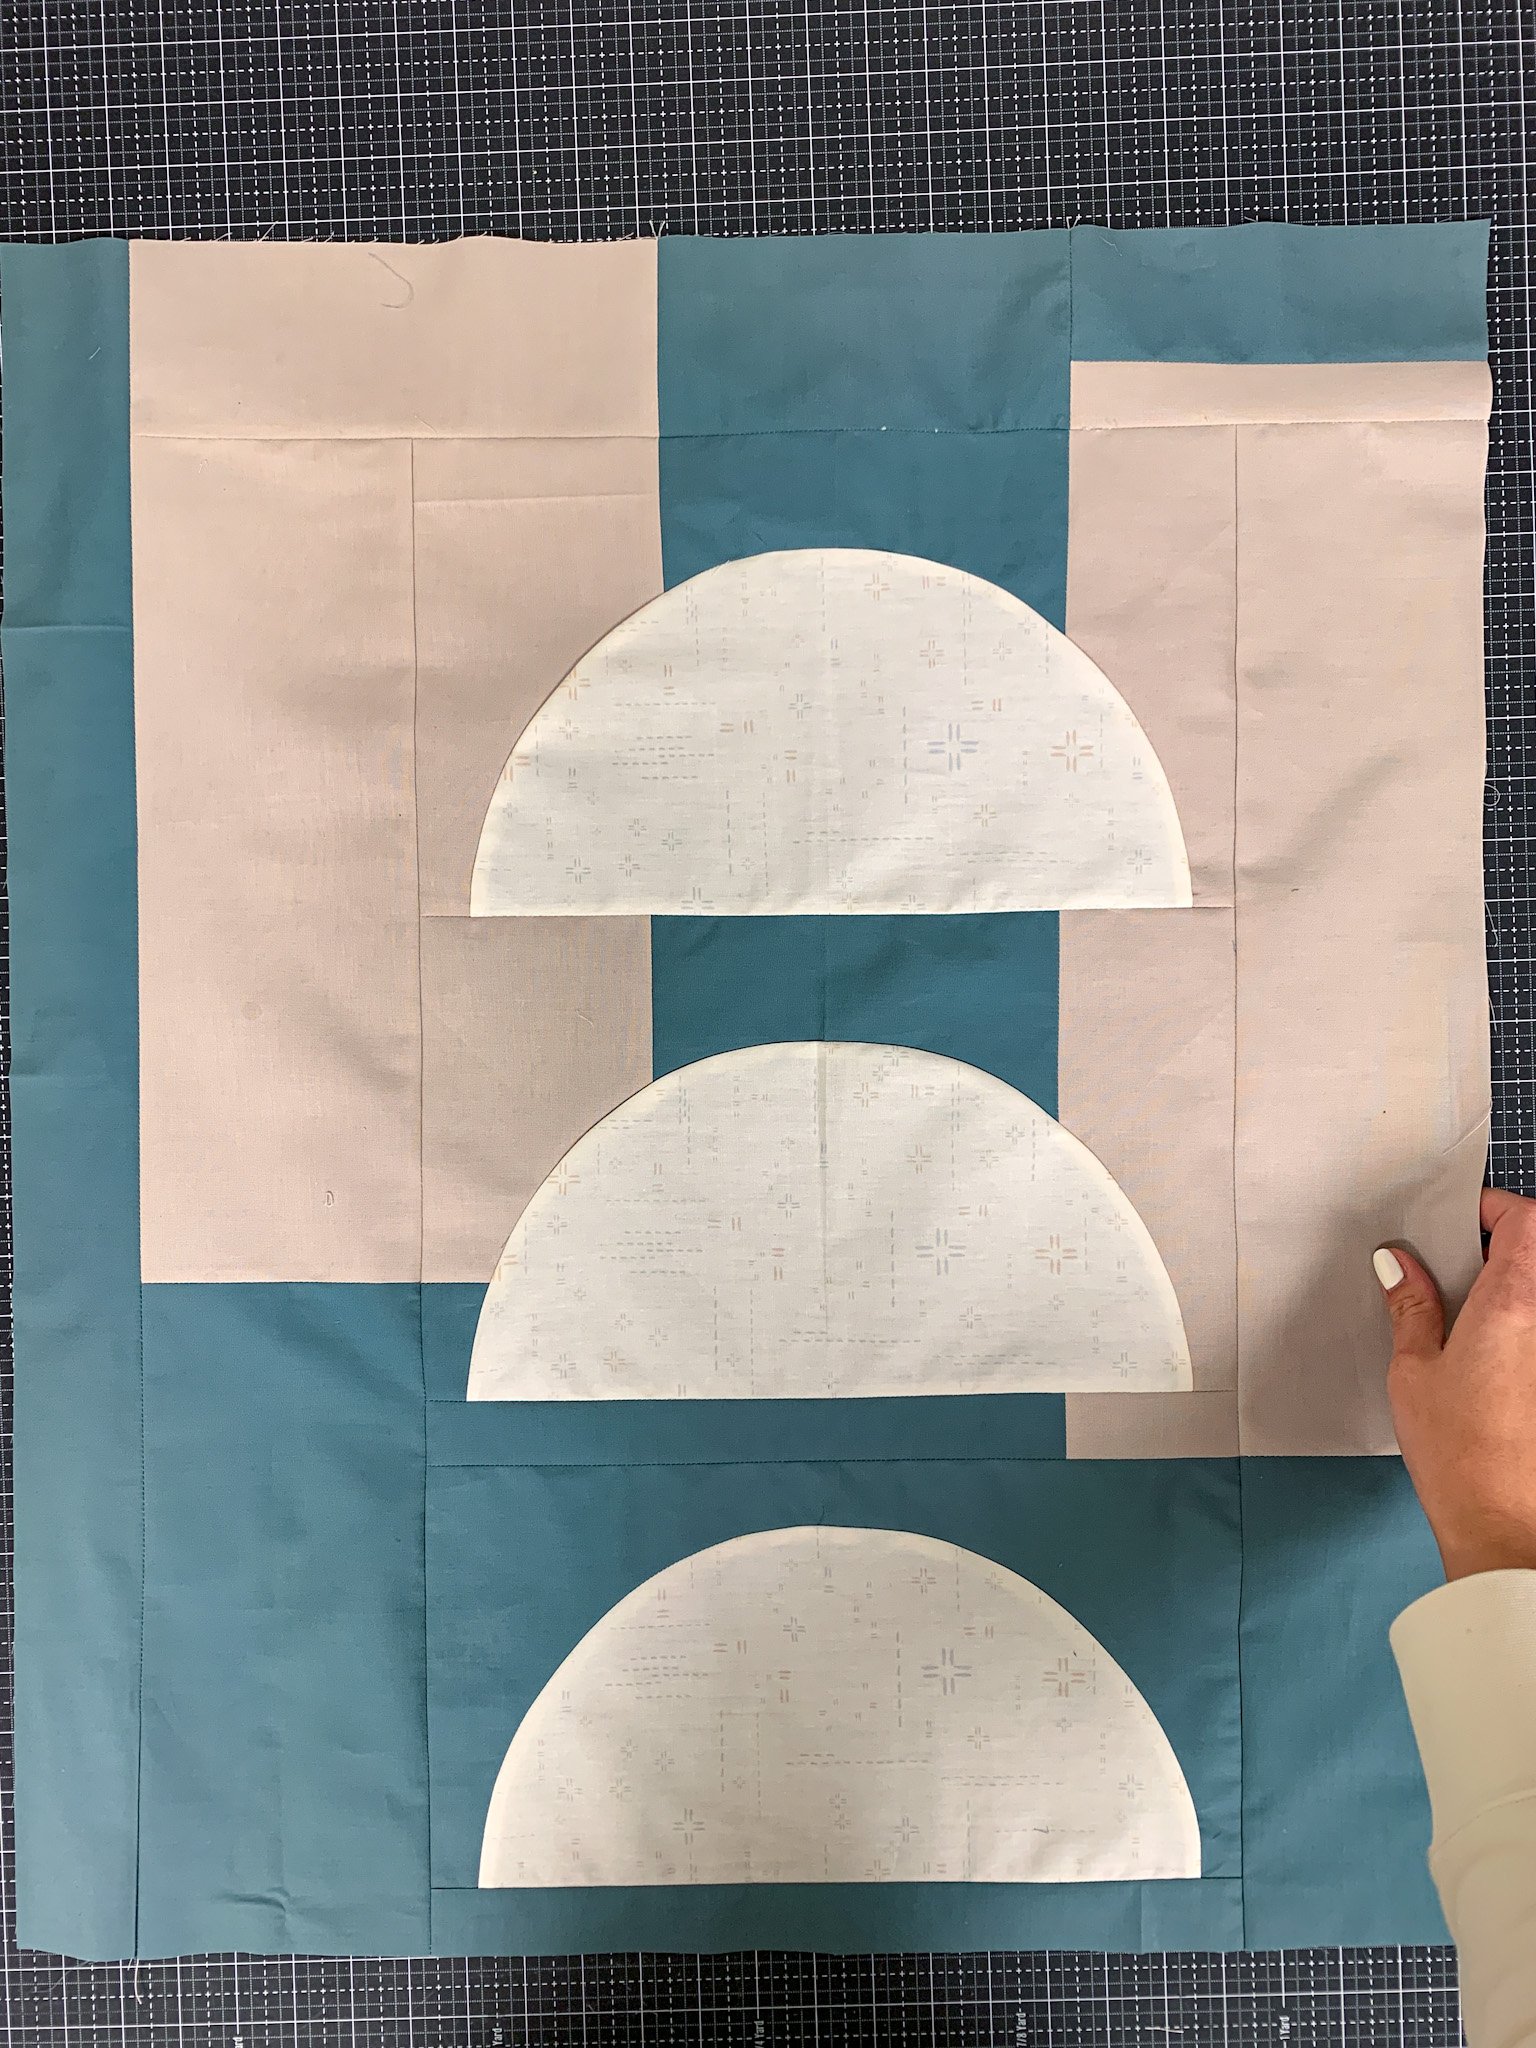
It is more important to match the seams than it is to have an even edge. The edges can be trimmed, but a misaligned seam will cause this design to lose a little of its shine. Two of the photos below show my edges being uneven after piecing the upper block. However, the seams matched up perfectly! So I trimmed the upper edges and now the block looks great.

Block 1 is complete! How are you feeling so far? This block is such a great opportunity to expand your sewing skills and become a more proficient quilter. As always, I am accessible through email (wellspringdesignsco@gmail.com) or Instagram, so feel free to reach out with any questions or comments. I am excited to start seeing your Rhythms Quilts come together. Remember to post a photo this week of Block 1 and use the hashtag #RhythmsQAL to be entered to win the grand prize at the end of the QAL. And be sure to use the discount code and shop this week’s sponsor, Ponderosa Creative!